On day 2 of my Final Fantasy Marathon, I defeated Maralith to restore the Fire Crystal. Today, I start by rowing my canoe back to Crescent Lake to rest at the Inn and restock supplies.
I then walk back to my ship and sail it a short distance north, so I can access the northern part of the river by canoe. I take my canoe to the Cavern of Ice.
Cavern of Ice
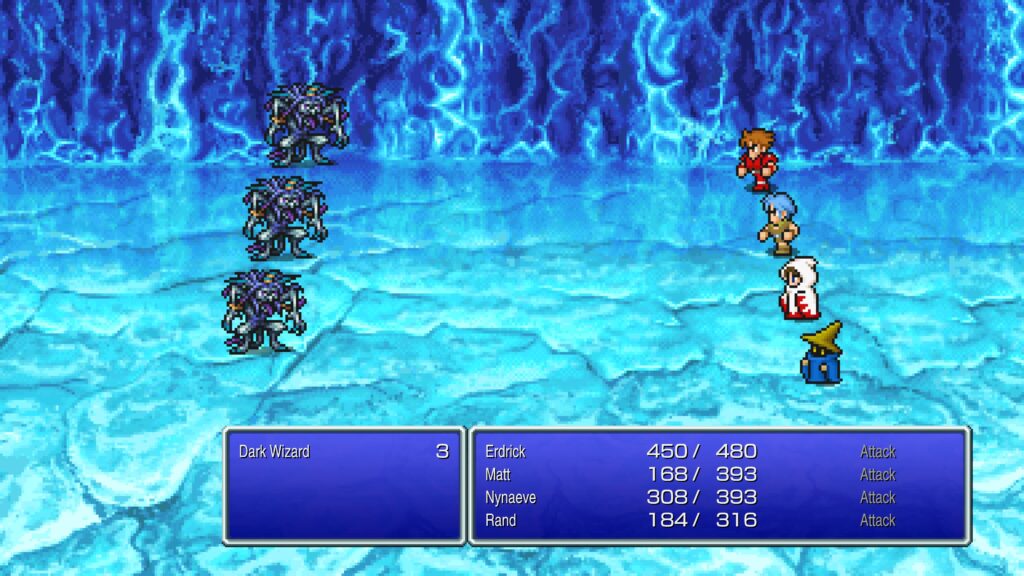
One of the more troublesome random encounters in this dungeon is the Dark Wizard. These creatures can cast powerful attack spells against your entire party, along with some annoying status effects, like Slowra.
This relatively small dungeon follows a linear path for the first several floors. Eventually, you come to a room with two treasure boxes, a pyramid-shaped object, and several cracks in the floor.
The right-hand treasure box contains a monster-in-a-box encounter with four Dark Wizards. I’ve suffered a party wipe here multiple times in the past, so I take this batch out quickly with a Firaga spell, though not before they knock out my warrior with an instant death attack.
To add insult to injury, the treasure the box contains is a worthless set of clothes. The left-hand box holds the Flame Sword, which isn’t an upgrade over the Ice Brand I already have.
When I try to get the levistone, the crack in the floor breaks and drops me to a lower floor, where I must defeat a large group of undead enemies. These can all inflict the paralyze status, so I take them down quickly with a fira spell.
Cavern of Ice part two
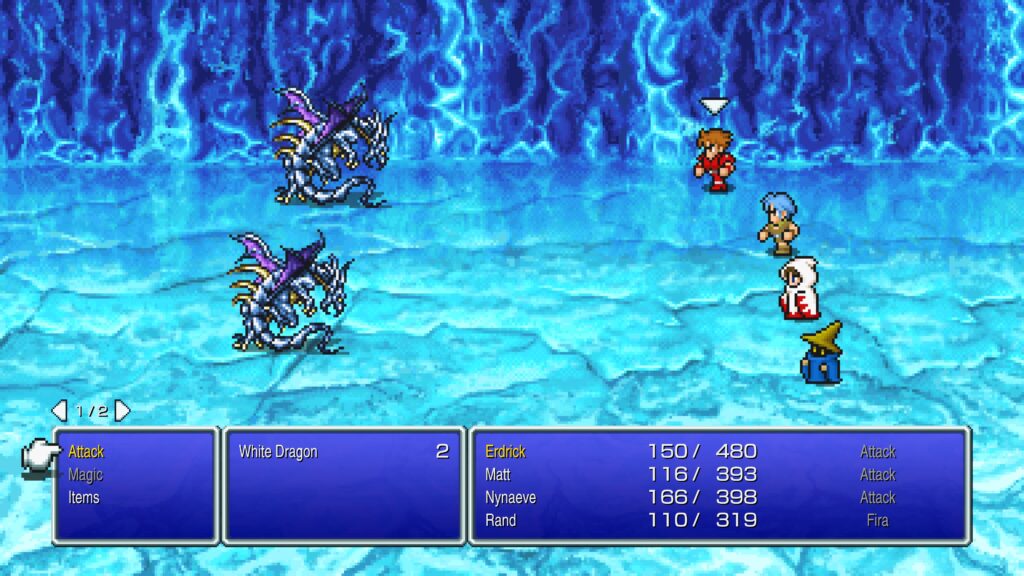
Monster-in-a-box encounters here include the White Dragon and the Winter Wolf. The White Dragons aren’t too dangerous, but they hit hard enough to take you out if you are already low on health.
The Winter Wolves don’t hit very hard, but attack in large packs. They can each cast a spell that hits your entire party and the damage can add up quickly, so I usually take them out fast with a fira or firaga spell.
These treasures hold mostly money. Parts of this floor are covered in spikey tiles that damage you with every step.
A stairway up takes you to a floor with several treasures, including an Ice Shield. There is also another room with a crack in the floor and some stairs.
The stairs take you out of the cavern. The crack will drop you into the center of the room with the Levistone.
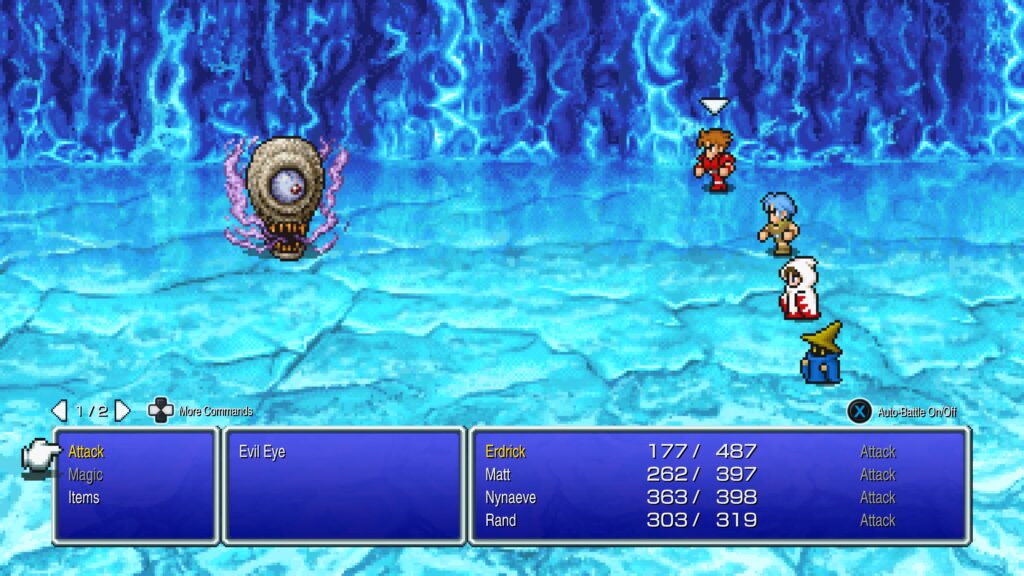
I step on the crack and approach the Levistone, which triggers possibly the easiest boss battle in the history of video games. The Evil Eye goes down with one swing of my warrior’s sword.
I get the Levistone and then step on a crack in the floor, since that is the only way out. This forces me to repeat the battle with the undead and make my way back up to the room with the exit stairs.
The Sky is the limit
I return to my canoe and paddle my way back to my ship. Then, I sail the ship to a river on the southern part of the continent near a desert and disembark.
When I step onto the desert, I trigger a cutscene. My party uses the Levistone to raise an airship from the desert.
I can now access the entire map and more easily navigate to previous locations. However, the airship does have some limitations. It can only land on grassy areas.
This forces you to pick a parking spot and walk to several of the game’s final destinations, rather than just land right outside the door. But, at least you don’t encounter random enemies while flying around the map.
A test of courage
I return to town to rest at the Inn and then fly the airship to the tip of the left “wing” of the northeastern continent. This is the closest landing spot to my next destination.
After a moderately long walk, I reach the Citadel of Trials. I encounter a sage who permits me to undergo the trials because I have the crown I got from the Marsh Cave.
I start the trials by sitting on a throne that warps me into a maze-like structure. To navigate the maze, I must choose the correct teleporters.
An incorrect choice forces you to repeat portions of the maze. I have done this so many times that I remember which way to go.
Some game-changing items

There are a few treasures scattered throughout the maze. The Healing Staff casts heal on your party when used as an item during battle without using any MP.
This doesn’t restore a lot of HP, but since the White Mage doesn’t do much damage with her attacks, I have her use the healing staff every turn, so she can restore a bit of HP.
The auto-battle system in this version makes it easy to maintain your party’s HP levels during random encounters, which saves some effort and conserves your spells and healing items during the large end-game dungeons. Your non-magic characters can also use the Healing Staff, but they aren’t as effective with it.
Another treasure box contains a Ruby Armlet, which I give to my White Mage. A monster-in-a-box encounter with three Clay Golems yields the Gauntlets.
This item casts the Thundara spell when used as an item in battle. This is particularly handy for one of the upcoming dungeons and can speed up random-encounters in general by allowing you to replace your Black Mage’s weak physical attacks with a moderately powerful group spell without using MP.
Your non-magic characters can also use this item, but they don’t do much damage with it, so it is really only useful when you want to take on creatures that are resistant to physical attacks. The last part of the maze contains a treasure box that holds a rat’s tail.
To exit the maze, I must defeat a pair of Dragon Zombies. This isn’t a very difficult battle.
A dragon grants us some class
After leaving the Citidel, I fly to several small islands to the east of the continent. Dragons live in the caves located on these islands.
Some of the dragon caves contain treasure boxes that hold powerful healing items that come in handy in the final boss fight. The X-potion fully restores a character’s HP.
The Elixer fully restores a character’s HP and MP. The Dry Ether, fully restores a character’s MP.
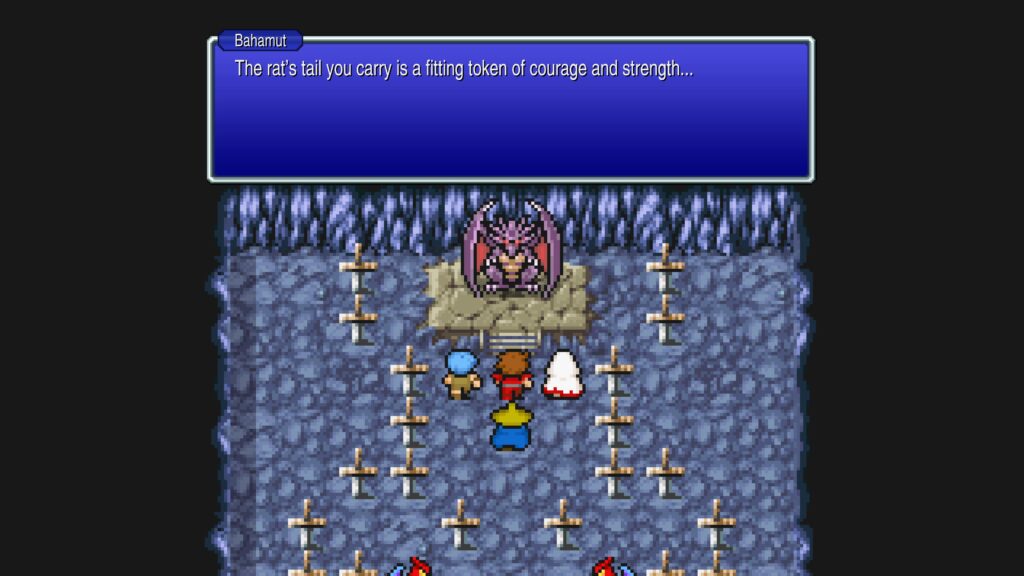
In one of the dragon caves, I find Bahamut, the king of the dragons. He sees I carry the rat’s tail as a token of my courage and strength and rewards me with new, more powerful classes.
My warrior becomes a knight, and can now cast lower-level white magic spells. My thief becomes a ninja, gaining access to more powerful weapons and armor and low-level black magic.
My white and black mages become white and black wizards, gaining access to the most powerful magic spells in the game. They also all get new, uglier avatars, except for the ninja, who looks pretty badass.
Revisiting old haunts
I equip my ninja with an Ice Brand, Ice Shield, Leather Cap, Ice Armor, and Mythril Gloves from my inventory. I then fly my airship to previously visited towns to pick up some new magic spells.
In Cornelia, my knight gets the cure spell and my ninja gets fire and thunder. My ninja picks up blizzard, temper, and slow in Pravoca. In Elfheim, my knight learns Cura, while my ninja learns Fira and Thundara.
For the most part, these spells aren’t that useful, but they do provide a few extra healing spells and allow the ninja to use magic when necessary. By far the most useful ability is the temper spell, which is a crucial tool for the final boss fight.
Finally, I return to Crescent Lake to purchase the Exit spell for my white wizard. This allows her to warp us out of dungeons.
An expensive faerie
With my shopping done, I fly to the far northwestern edge of the map and land near a desert. Walking into the desert reveals a caravan with a Bottled Faerie for sale.
I purchase the faerie and then fly to the “eye” of the bird-shaped continent on the northeastern side of the map. When I enter the town of Gaia, the faerie flies away.
I stop at the town’s four magic shops and purchase the Curaja and Holy spells for my white wizard and the Blizzaga spell for my black wizard. At the armory, I get a Ruby Armlet for my black wizard and Protect Rings for the entire party.
I pick up the Cat Claws for my black wizard at the weapon shop. Finally, I walk to a pond on the northeast side of town, where I find the faerie.
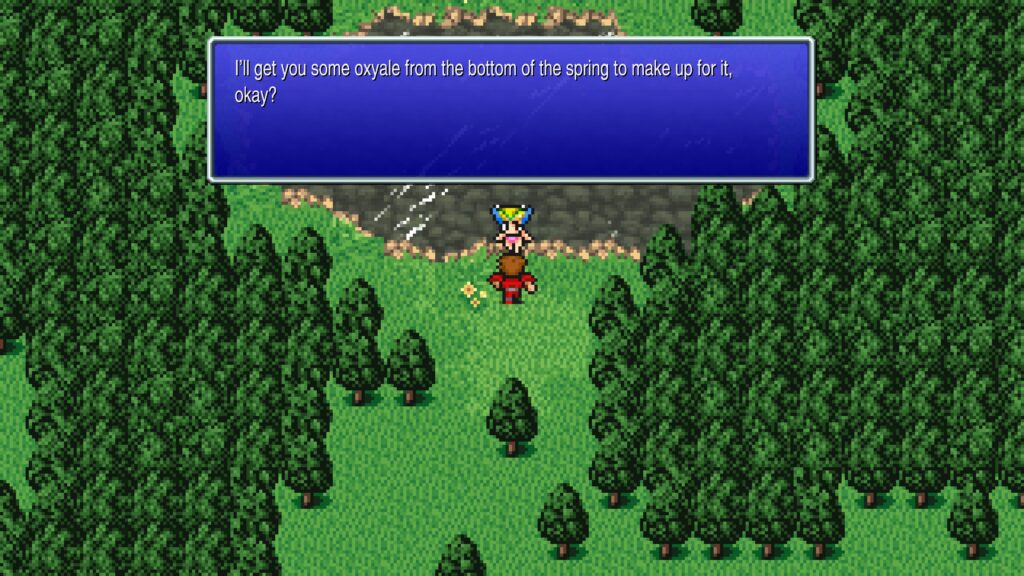
She apologizes for running away, though that seems like perfectly reasonable behavior to me, and then gives us some Oxyale from the spring. She tells us the Oxyale will allow us to breath under water.
A robot detour
I return to my airship and fly back to the northwestern continent, landing as close as I can to the town on the east coast. Before going to the town, I use my canoe to get to a cave hidden behind a waterfall, called the Waterfall Cavern.
The cave has several dead ends, but it is easy to find the way by using the in-game map. The cave deadends in a room with a battle versus two mummies, a king mummy, three pyrolisks, and three cockatrice.
The pyrolisks are the greatist threat, because they have an instant death attack. However, our protect rings protect us against this. In any case, the black wizard’s thundara attack takes the group down quickly.
This gives us access to several treasures and a robot who gives us the warp cube and a cryptic message about Tiamat and the Flying Fortress. The treasure boxes contain a Wizard’s Staff, which casts confuse when used as an item, a Ribbon, which is a helmet that protects against status effects and elemental attacks, and the Defender, which is a sword for my knight.
I give the Ribbon to my ninja. I use the Exit spell to warp out of the cave and then take the canoe back to dry ground.
Mermaid town
I walk to the town of Onrac, where I meet Dr. Unne’s brother. He tells us that his brother is always talking about how he could figure out the Lufenian language, if only he had the Rosetta Stone.
I purchase the Healaga spell for my white wizard from one of the magic shops. On the far right side of town, I meet a mermaid who, upon seeing we have the oxyale, gives us access to a makeshift submarine and asks us to save the mermaids.
The Sunken Shrine
The barrel takes us to the Sunken Shrine. There is a path up and a path down from the first floor. I opt to go up.
Along the way, I find some Diamond Armor for my warrior. I also get a Light Axe, which casts diara when used as an item and a Mage’s Staff that casts Fira.
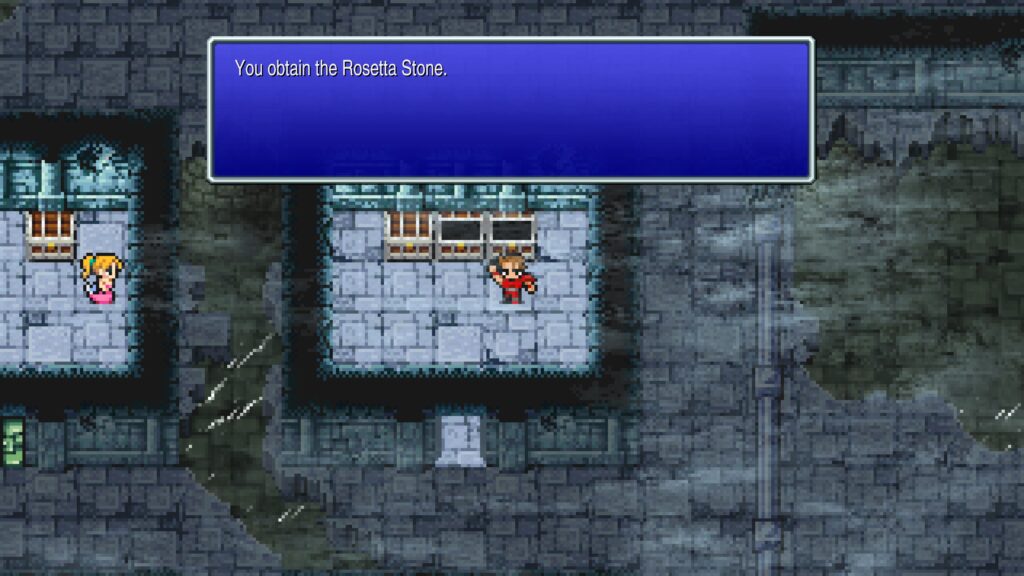
On the top floor, I find several small rooms that contain some mermaids and treasure chests. The treasure includes a Diamond Armlet, which I give to my white wizard, and the Rosetta Stone.
I also pick up a Diamond Helm and Diamond Shield, which goes to my warrior. Once I have all the treasure collected, I use the Exit spell to warp out of the shrine.
This saves me the trouble of walking back down and provides a chance to save the game and visit the inn and item shop in the town if necessary.
Return to the Sunken Shrine
I take the barrel back to the start of the shrine and choose the downstairs path this time. Along the way, I encounter a monster-in-a-box that contains two mummies, a king mummy, three pyrolisks, and three cockatrice. Like before, I mow them down with the gauntlets.
My reward is a deceptively important item, the Giant’s Gloves. They cast Saber when used as an item, which becomes a critical strategy in the final boss fight.
I get another Light Axe after a monster-in-a-box fight with three sea snakes, three sea scorpions, and two sea trolls. I defeat two white sharks and a Sahagin Prince to gain access to another chest with a Ribbon. I give this one to my white wizard.
The final floor of the shrine is mostly empty rooms. The large room on the left side leads to a smaller room where Kraken, the Fiend of Water, waits.

Like most of the enemies in the shrine, Kraken is weak to thunder spells. I defeat him by spamming Thundaga at him, though the battle goes on a extra couple rounds because he one-hits my black wizard, forcing me to revive him before finishing off the boss.
Defeating the fiend restores the Water Crystal, making my quest 75% complete. I warp out of the shrine.
Back at Melmond
I walk back to my airship and fly to Melmond to show the Rosetta Stone to Dr. Unne. He rewards me by teaching me the Lufenian language.
I then fly to the closest landing spot to the town on the right “wing” of the northeastern continent and walk to the town of Lufenia. There, I get some additional story from the residents and a chime that will grant me entrance to the Mirage Tower.
I learn that the Lufenians used to live in a fortress in the sky, but Tiamat drove them out. In response, they sent out five warriors, but the Fiends cursed them and turned them into the bats we have seen in various locations during our quest.
There are only two shops in the town, and they are both hidden off the right side of the screen. I purchase the Full-Life spell for my white wizard and the Flare spell for my black wizard at these shops.
The Mirage Tower
I return to my airship and fly to the Mirage Tower, located in the large desert in the center of the northeast continent. The airship can’t land on sand, so I have to park on the edge and walk.
The Mirage Tower is a series of large rooms that contain treasures and staircases that lead to the top of the tower. I obtain the Aegis Shield, Dragon Mail, and Sun Blade for my warrior and Thor’s Hammer for my white wizard from the treasure chests.
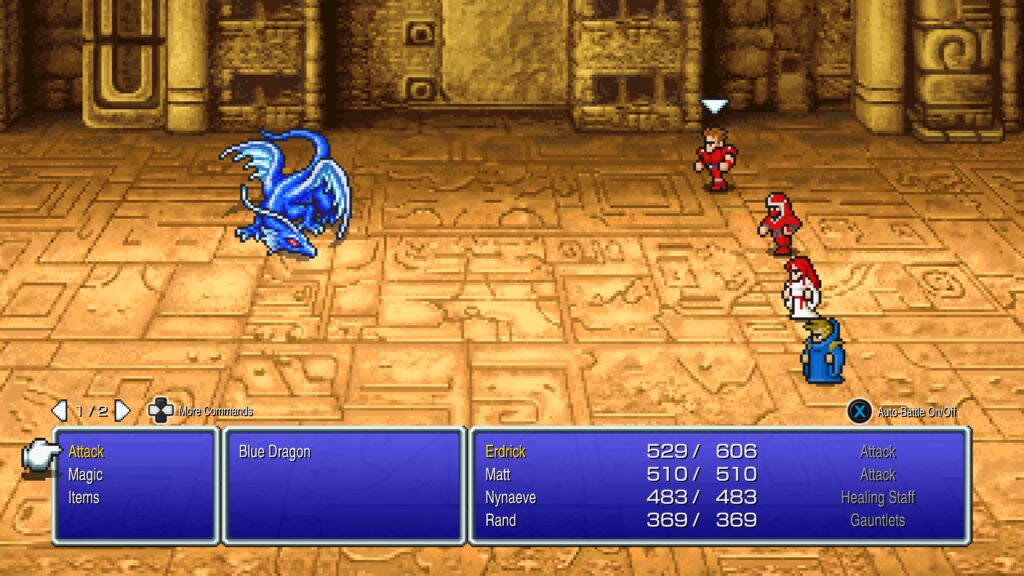
At the top of the tower, I must defeat a Blue Dragon. This enemy also appears as a random encounter in the tower and is not difficult to defeat.
Once I slay the dragon, I can use the Warp Cube to activate a warp pad that takes me to the Flying Fortress.
The Flying Fortress
The Flying Fortress is a castle in the sky. Each level is a collection of rooms that contain treasures and a warp pad to the next level.
Most of the treasures contain gil or repeats of items I already have. Notable loot includes the Razer, which is a weapon that isn’t an upgrade for anyone, but I can use to cast scourge in battle.
The scourge spell hits all enemies and either kills or doesn’t work at all. I have my black mage use this item to shorten some of the random encounters.
Black flans appear throughout the fortress. These enemies are resistant to physical attacks.
My wizard could take them out with higher-level spells, but I opt to have the party use the various spell-casting items to wipe them out for free. I pick up a Black and White Robe.
These are armor items for the wizards. My white wizard has the diamond armlet, which offers better overall protection, though the White Robe provides protection against fire and instant death.
I give the Black Robe to my black wizard. I find some adamantite sitting on the floor in one of the rooms near the top of the fortress.
I also get a Protect Cloak, which is a shield that mages can use. On one of the upper floors, I find a mirror that shows me the location of the Chaos Shrine.
End-game revealed

Shockingly, it appears to be the same location where we fought Garland at the beginning of the game. I also find Sasuke’s Blade, which is an upgraded weapon for my ninja.
The second to last floor is a simple puzzle that the in-game map removes all the difficulty from. On the final floor, there is a narrow bridge that leads to a confrontation with Tiamat.
There is a rare encounter that can happen on that bridge with a very tough enemy. It is hard to take down at the level most people are at for this encounter, but is a requirement to unlock an achievement and is also a popular spot to grind levels for the endgame because of the large amount of experience that encounter grants.
I don’t run into that enemy, and I already have the achievement, so I head straight to Tiamat, the Fiend of Wind. Tiamat is the most difficult boss fight so far, but spamming Flare spells at him takes him down fairly easily.
Defeating Tiamat restores the Wind Crystal, completing my quest. However, there is one final task remaining to prevent the fiends from returning.
Final preparations
Before heading to the Chaos Shrine, I stop at Cornelia to rest at the inn and purchase 99 of everything at the item shop. There is no new equipment or spells to buy at this point, and I have a ton of money, so I figure why not.
Next, I return to the Dwarves and give the adamantite to Smyth. He makes the sword Excalibur, which is the second most powerful sword in the game.
I equip it on my knight and then fly to the caravan to stock up on stat boosting potions. With my end-game chores done, it is time to return to the Chaos Shrine.
Back to the Chaos Shrine
Back at the Chaos Shrine, the bats can now speak. They explain that the Black Crystal in the shrine was somehow feeding the power the Fiends absorbed from the Crystals into the past.
Using my crystals on the Black Crystal will open a portal to the Chaos Shrine 2,000 years into the past. I focus the light of the four Crystals on the Black Crystal, opening the portal, and step through.
The old Chaos Shrine is much larger than its current day counterpart. On the second floor, I encounter the second-easiest boss fight in video game history, the Death Eye.
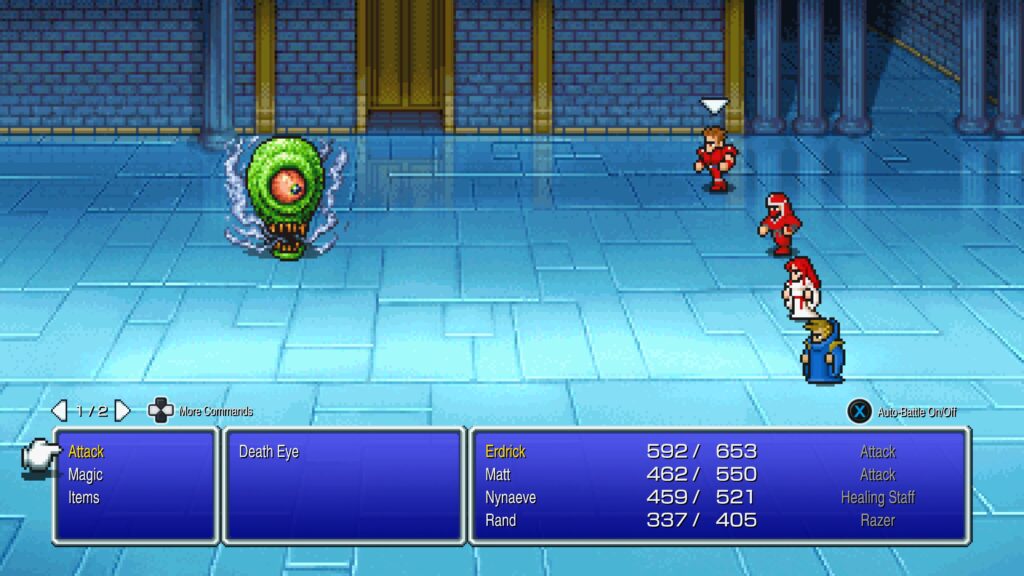
The Death Eye is slightly more difficult than the Evil Eye, but only slightly. Defeating the Evil Eye opens a path to a slab and two treasure chests.
The chests contain Dry Ether and an Elixir. Interacting with the slab causes me to play the lute that Sarah gave me back at the beginning of the game, which reveals a ladder to the next floor.
The Four Fiends part deux
The rest of the shrine is a series of rooms with a few treasures and stairways guarded by the Four Fiends as they existed 2,000 years ago. First up, is Lich.
This version of Lich is more difficult than the modern day version, but not a lot. To defeat him, I attack with my knight and ninja, cast Holy and heal my party with my white wizard and cast Flare with my black wizard.
It takes more rounds to defeat him than in the first encounter, but not many. The floor where Maralith is guarding the next set of stairs has treasure boxes containing a second Protect Cloak, which I give to my black wizard and an Elixir.
I use the same strategy I used on Lich to defeat all of the Fiends. Between the Kraken and Tiamat there is a passage that leads to Masamune, the most powerful sword in the game.
Because my ninja can equip Masamune, but not Excalibur, I give the weapon to my ninja instead of my knight. I then go on to take out Tiamat.
The final boss
Garland awaits on the final floor. Before attacking us, he does the thing where the villain explains his evil plans.
When we killed Garland at the beginning of the game, the four great forces sent him 2,000 years into the past. Garland then sent the four Fiends into the future.
The fiends then use the great forces to send Garland into the past. This created a time loop in which Garland is continually defeated but reborn with no memory of his previous life.
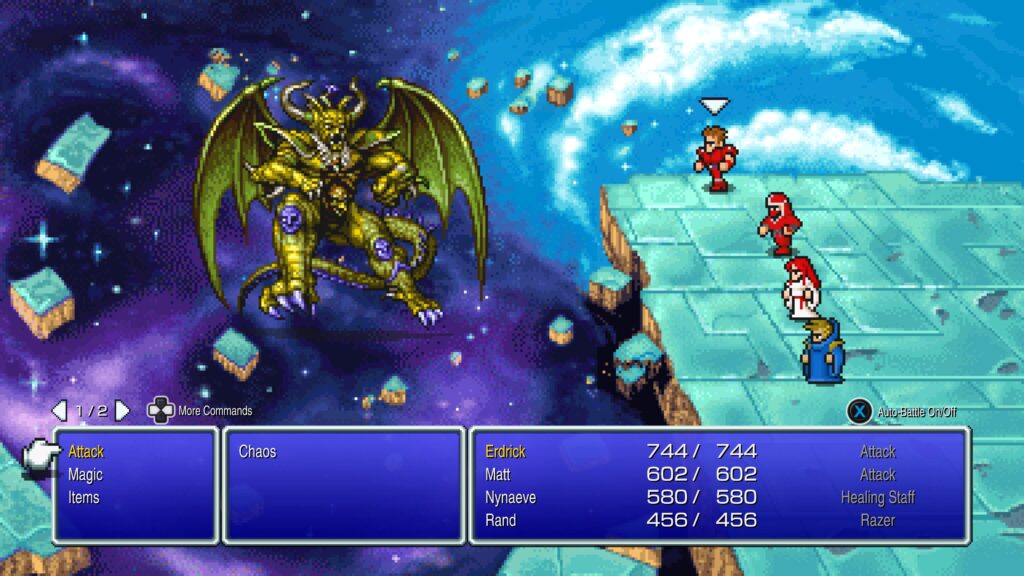
Once he finishes his exposition, Garland morphs into the monster Chaos and attacks. Chaos wields a variety of powerful physical and magical attacks and can also cast slowra and instant death on your party.
Additionally, he has 20,000 HP and can cast curaja on himself, healing 9,999 HP. How difficult he is depends largely on your party composition and luck.
This was one of the easiest contests I’ve had against him. He never cast Flare, or healed himself, or one-hit anyone and I finished him off before he got to the point where he starts attacking more frequently.
I didn’t even have anyone die. To defeat him, I first buffed my party by having them drink the various stat-enhancing potions I purchased. I then used my black wizard and the giant’s gloves to cast Saber, Temper, and haste on my fighters to boost their attack power.
These spells stack, so you can keep casting them until your fighters hit for a lot of damage per turn. This is the most reliable strategy for defeating Chaos, no matter what your party composition is, unless you are a party of all mages.
Once I was satisfied with my fighter’s attack power, I had the black wizard start spamming flare spells. I used the white wizard to heal the party.
Final thoughts
Not having a black magic user makes this fight more difficult because you have to rely on the giant’s gloves to buff your fighters. It’s even more difficult without a white wizard, because you must rely on your x-potions and elixirs to heal, so if you want a challenge, I suggest doing a party with no wizards and no ninja.
Once Chaos goes down you get a slow scroll with some additional story. The scroll explains that defeating Chaos severed the time loop. The four warriors return to a present where the events of the game never took place, and Garland is alive once more.
No one will remember our valiant quest, because now it never happened. The game ends with an admonishment to always use the forces of the world as intended, never using light for dark and to remember that the true Crystals reside in our hearts.
After the scroll, there is a long credits sequence. Like, I got my laundry basket, put the laundry in the machine, used the restroom and came back and it was still going long.
Once it is finally over, you get a graphic that says “THE END.” Pressing the action button takes you to a screen where you can save your progress up to the final boss.
There is no game+, but you get a nifty star by your file name. I finished the game in 8 hours and 47 minutes.
According to Google, the speedrun record for the Pixel Remaster version is 2:05:35. I don’t plan to do any speedrunning, but I will do one more playthrough, using the two classes, Monk and Red Mage, that I didn’t use this time before I move on to the next game in the series.
Leave a Reply