Today, I begin my Final Fantasy Marathon with Final Fantasy Pixel Remaster. I am playing the Steam version. I have already unlocked all the achievements on a previous playthrough and there isn’t a good way to reset them, so I won’t be covering achievements.
I initially thought about playing every possible party combination. With six classes and a four-member party that can have repeated classes, that would require 126 playthroughs. That’s just a bit too tedious for me.
Instead, I will plan to include all of the classes at least once, which will require two playthroughs. For the first, I will do what I consider the “classic” party, of Warrior, Thief, White Mage, Black Mage. For the second, I will do Warrior, Monk, White Mage, Red Mage.
Choose your fighters
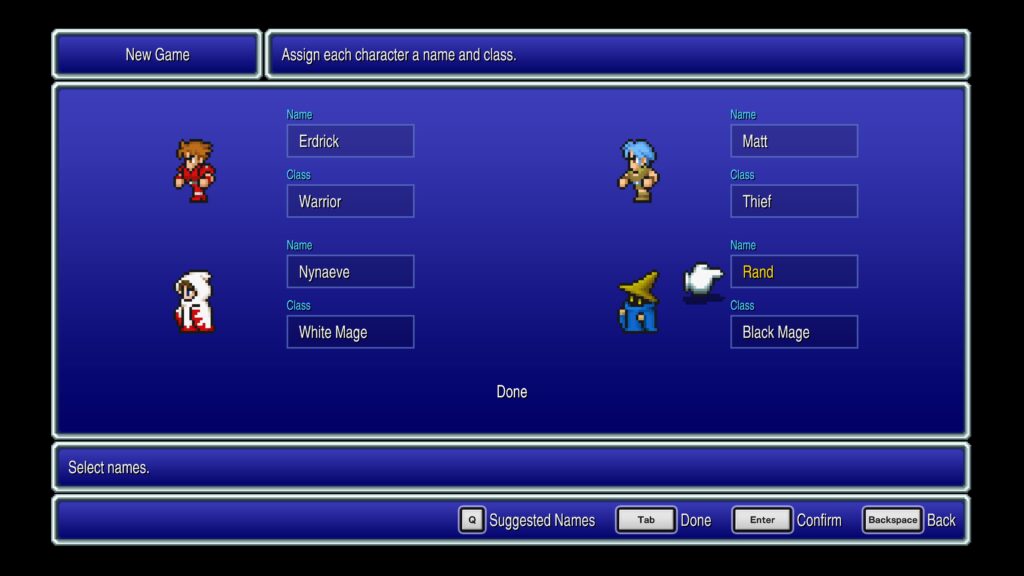
The game begins in a party creation screen. You choose four characters from six classes.
You can select four different classes or four of the same class or anything in between. Your options are Warrior, Thief, Monk, Red Mage, White Mage, and Black Mage.
The Warrior is a typical tank-type character with decent fighting ability and no magic. The thief has more speed and agility, but lower defense and less attack power and no magic.
Speed comes into play more as you progress in the game and the characters can attack more times per turn. Eventually, the thief becomes quite powerful because he can attack so many times per turn.
The Monk is an unarmed glass cannon. He can hit for high damage, particularly as his stats improve, but has almost mage-like defense.
Choose your mages
The Red Mage is a jack of all trades. He has mediocre attack abilities and defense and can cast both white and black magic, but does not have access to the higher-level spells. The White Mage is the healer and only female character available.
She can do some moderate damage with hammers, but her main use is for casting healing spells. She also has access to some buffs, but I don’t find them particularly useful in this game and usually don’t purchase them.
Finally, the Black Mage can cast offensive spells, debuff your enemies and buff your attackers. His offensive magic is powerful, though limited by his mana, particularly early in the game.
I don’t usually buy his debuffing spells, but in the mid-game you can purchase a spell that buffs your fighter’s attacks that is crucial in the end-game. You can also pick up haste, which is useful both for boosting your attack power and countering slow spells, which can render your fighters nearly useless.
Like the White Mage, the Black Mage is a weak physical attacker and has weak defense. He also has the lowest possible max HP of any class type.
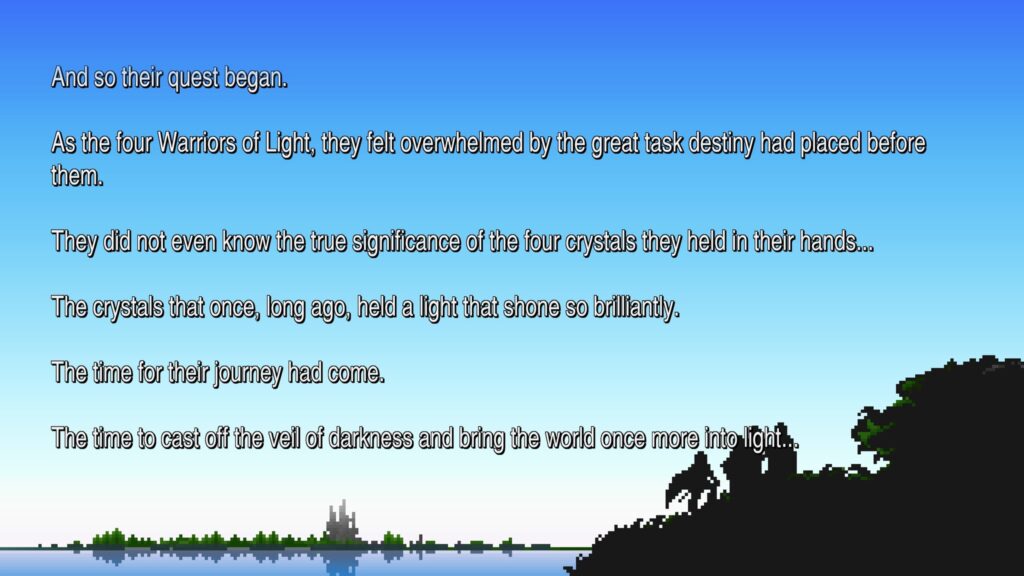
After you pick your class, you choose character names and then proceed into the game. The game starts with an unskippable cut scene that explains the story.
The world is shrouded in darkness. The wind has died. The seas are raging. The Earth is decaying and fire is…burning I guess? I don’t know. I forgot.
Anyway, all is not lost. The prophecy says four warriors of light will come bearing crystals and save the world.
A Princess needs saving

We then appear on the main map, crystals clutched in our hands. I head into nearby Cornelia castle and speak to the King.
He asks me to rescue his daughter, Sarah, from Garland, a fallen knight who is the best swordsman in the kingdom. If I succeed, he will rebuild the bridge to the North, so I can continue my quest.
Garland is in the Chaos Shrine to the north of Cornelia. I head into town and purchase the Cure spell for my White Mage and the Fire and Thunder spells for my Black Mage. I also pick up some potions and antidotes.
Unfortunately, my Thief bites the dust in the Chaos Shrine, so I have to return to Cornelia to resurrect him at the church, heal at the inn, and restock my supplies. I then head back to the Chaos Shrine.
There are four rooms at the four corners of the shrine. Two contain some minor treasures. The other two are locked.

After getting the treasure, I head to the center room, where I find Garland and an unconscious Sarah. Garland attacks.
In spite of all the talk about what an amazing swordsman he is, he goes down fairly easily. I use a simple strategy of attacking with my warrior and thief and casting with my Black Mage, using the White Mage to heal as necessary.
The Quest for the Crystals begins
Sarah thanks us and warps us back to Cornelia Castle. The King decides we are the Warriors of Light from the prophecy and that he must aid us in our quest to restore light to the Crystals to save the world.
He orders his men to rebuild the bridge to the north and tells us there is a crystal that way. I talk to Sarah and she gives me a lute that she says was passed down from princess to princess.
I get a cut scene of the men rebuilding the bridge and then another scroll that repeats the prophecy about the Warriors of Light.
I cross the bridge and almost immediately get into a tough battle that kills my Thief and White Mage. However, I am able to limp into the town of Pravoca and resurrect them at the church.
A pirate changes his ways
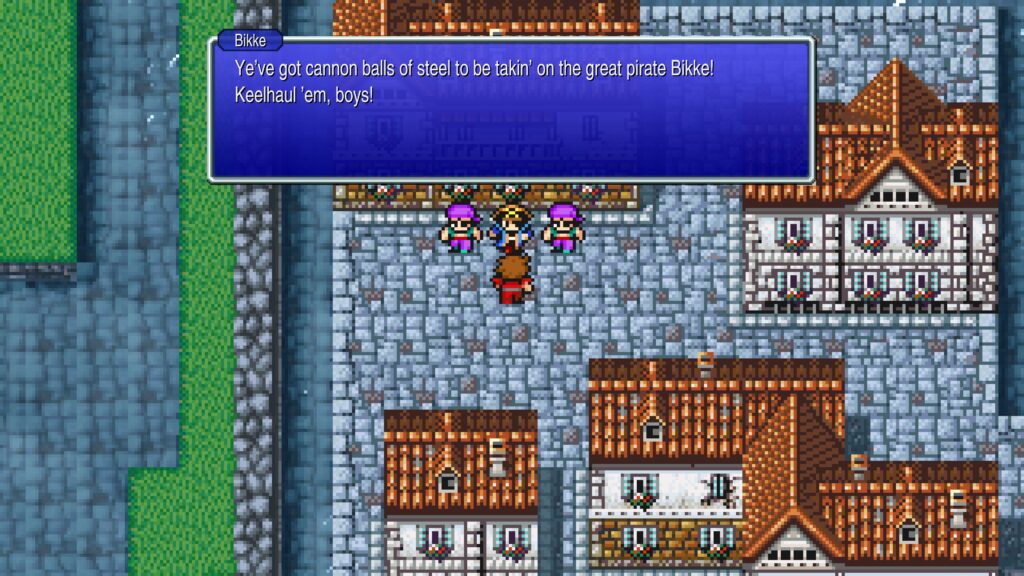
After visiting the church and the Inn, I find the pirate Bikke, who has been terrorizing the townfolk with his thugs. He orders his minions to attack, but I take them out easily.
Turks out Bikke is a coward without his muscle. He quickly promises to mend his ways and offers me his ship to spare his life.
I don’t have much cash to spend, so I hop on the ship and head for Elfheim on a continent to the southwest. If you’ve never played this game before and don’t use a guide, figuring out where to go can be frustrating.
The NPCs will give you cryptic clues about your next destination, but there are no glowing trails or map markers to follow. I have played this game many times, so I already know where everything is.
You can only land the ship at ports. I stop at the closest port to Elfheim and head into the town.
The Elf Prince sleeps
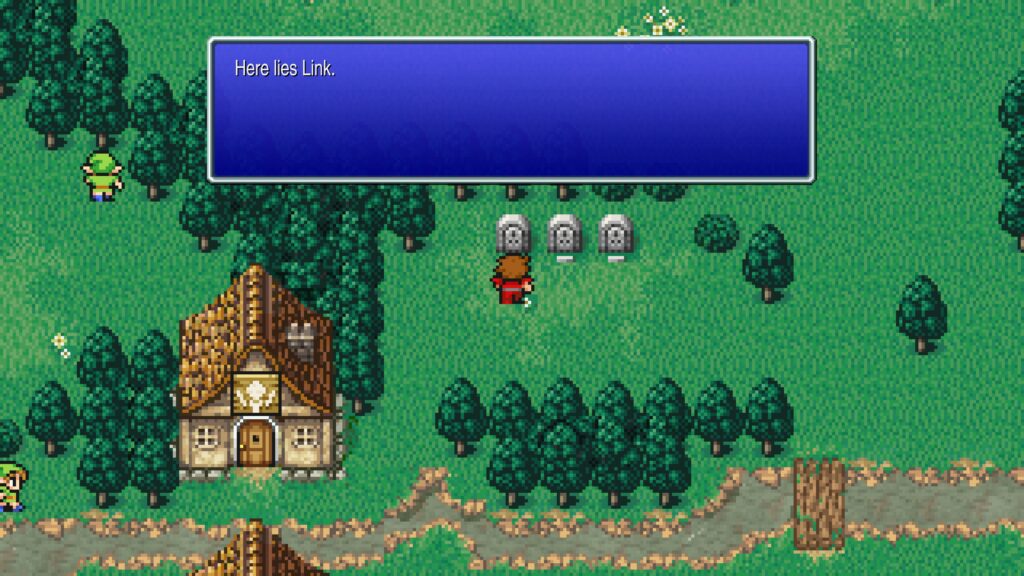
Elheim is full of elves that look remarkably like Link of The Legend of Zelda fame. The game even includes a fun Easter egg that acknowledges the similarity.
There’s no gameplay reason to go into the castle right now, but you get a bit more of the story if you do. The Elf Prince sleeps and will not wake. His doctor wonders if there is a potion that could wake him from his unnatural snooze.
I can’t afford to buy much here, so I pick up some potions and antidotes and head out. There are two locations to the west. The northwest location is skippable, but provides some extra story.
A King has lost his crown
A King sits in the ruins of the Western Keep, claiming the Dark Elf stole his crown. He asks us to retrieve it from the Marsh Cave to the south.
I head for the Marsh Cave, but my Thief dies a few steps from it, forcing me to return to Elfheim to resurrect him. My Black Mage also dies on the journey back to the town.
Once everyone is alive again, I head back for the Marsh Cave, but don’t get very far before a pack of scorpions kills my party. I have to restart from the town.
Marsh cave, round one
This time, I make it all the way to the Marsh Cave. Usually, I save my tent for after I clear the first floor, but I forgot and used it before I went in the cave this time.
Once inside the cave, there are two paths. The northern path takes you to stairs that lead to a small room with a few treasures in it.
I start there. One of the quality of life additions to the Pixel Remaster version of the game, is the in-game maps. A nice feature is that while in dungeons, you can look at the map when standing in a room with a treasure and see which of the other interior rooms also have treasure.
This saves you a bit of time, since you don’t need to check the empty rooms. There’s a decent amount of cash and a dagger in the chests on this floor. The dagger is a minor weapon upgrade for the Black Mage.
At my current level, the enemies are still relatively difficult. As a result, both my thief and my black mage die during a battle. However, my party gets wiped and reverts me back to the start of the floor and I avoid deaths the second time through.
However, I use a lot of resources clearing the floor, so I decide to return to Elfheim to restock supplies. I also purchase the Cura spell for my White Mage and Fira and Thundara for my Black Mage.
Marsh Cave, round two
I return to the Marsh Cave and take the southern path. A stairway down takes me to a level with a few treasure chests. One contains a broadsword, which is a moderate upgrade for the Warrior.
A ladder down takes us to the bottom floor of the dungeon. There are many small rooms here, most of which are empty. A few contain treasure.
I acquire a Copper Armlet, which is an armor upgrade that my Thief or either mage could use. I give it my White Mage.
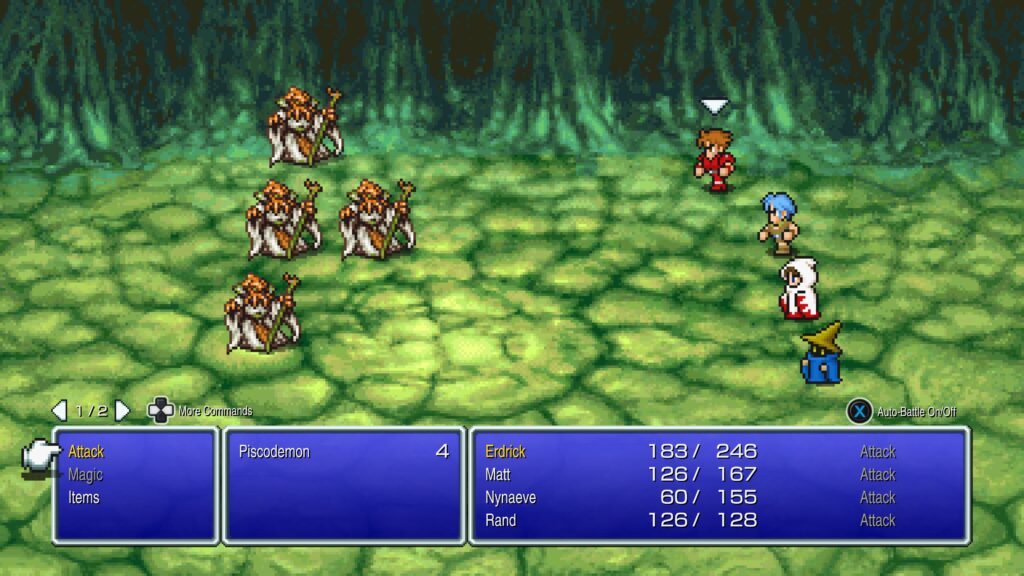
One of the rooms contains a chest that holds my first monster-in-a-box encounter of the game. Four piscodemons attack.
These guys can hit fairly hard. I take them out with the usual strategy of attacking with warrior and thief, casting black magic with my Black Mage, and healing with my White Mage.
My warrior dies in the battle, but we win and receive the key item: the crown. I pick up a couple more treasures and then make my way back out of the Marsh Cave.
I skip the rooms at the bottom of the floor, because these are locked and we don’t have the key yet. My thief and white mage join my warrior in death. However, I manage to make it out of the cave by running with my black mage.
Once out, I flee my way back to Elfheim. After resurrecting my fallen party members, I do some shopping. I pick up the Haste and Blizzara spells for my Black Mage.
Treachery at the Western Keep
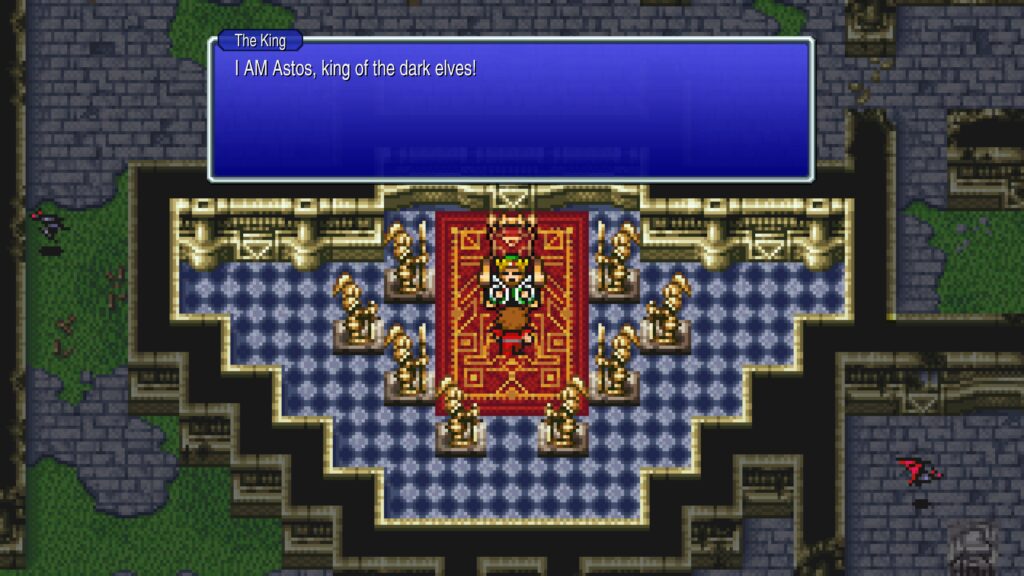
I also visit the inn and restock my healing supplies before heading to the Western Keep. I present the crown to the King, but it turns out he is actually the Dark Elf, Astos.
He wants to use the crown with the crystal eye he has to rule over the elves. Astos attacks.
He isn’t super powerful, but he can cast slow spells on the entire group, which make your physical attackers next to useless. This is super annoying if you are playing in a party with no black mage.
Fortunately, I am not, so I use my Black Mage’s powerful spells to defeat Astos, while my warriors do almost nothing because they are all slowed. I could have cast haste to make my fighters do more damage, but the Black Mage can pretty easily take down Astos with his spells, so it isn’t necessary.
I defeat Astos and receive the crystal eye. At this point, the first time I played, I had no idea where I was supposed to go next and just wandered the world until I stumbled upon it.
This time around, I know I need to take the crystal eye to the blind witch Matoya. She lives in a cave to the northwest of Pravoca.
The Witch regains her sight
First, I return to Elfheim to rest at the Inn and restock supplies. I finally have a bit of money left over, so I upgrade my party’s armor at the shop.
I leave Elfheim and sail to the dock near Cornelia. I then walk north, across the bridge, until I reach a cave.
Inside the cave, I find a couple of treasure chests and the blind witch, Matoya. Matoya is walking around banging into things and complaining about someone having stolen the magical crystal eye she uses to see.
I’m not sure if they meant this scene to evoke the tale of the Graeae from Greek Mythology, or the scene with the Stygian Witches from the 1981 classic Clash of the Titans. Being a fan of both, I always enjoy this encounter.
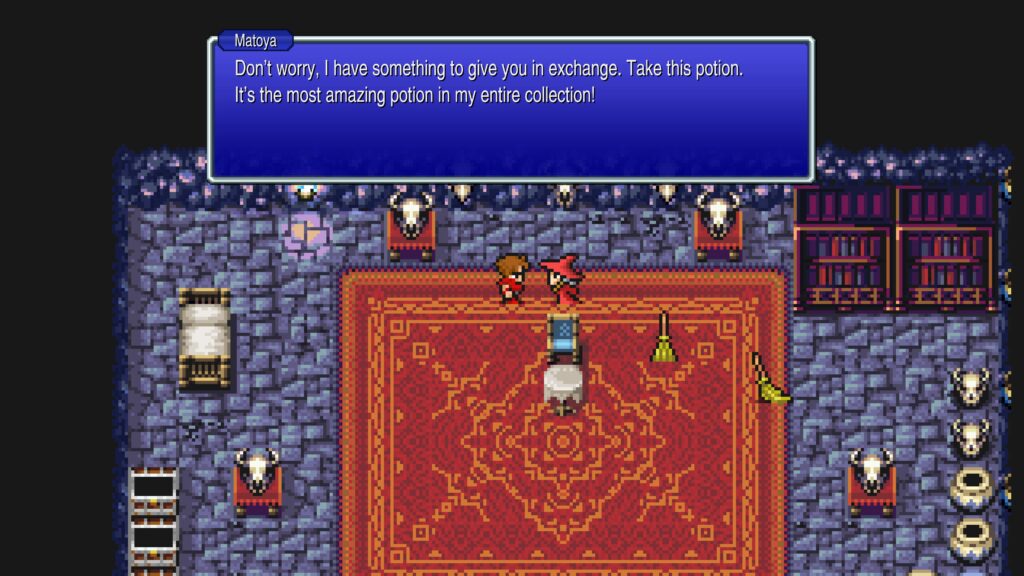
Matoya trades us her jolt tonic for the crystal eye. We walk back to our ship and sail back to the dock near Elfheim.
The Elf Prince awakens
I give the jolt tonic to the elf doctor. He gives it to the sleeping prince. The prince wakes and recognizes us as the Four Warriors of Light.
He then gives us the mystic key he has been holding. I walk around the outside of the castle to find a room with four locked chests. One contains some Bronze Gloves that I give to my warrior.
Dungeons revisited
Next, I return to the Western Keep. The locked room here contains three monster-in-a-box encounters. The first is six wraiths.
These enemies can paralyze you, so I use the black mage’s Fira spell to take them all down quickly. I receive a Falchion, which is an upgraded sword for my warrior.
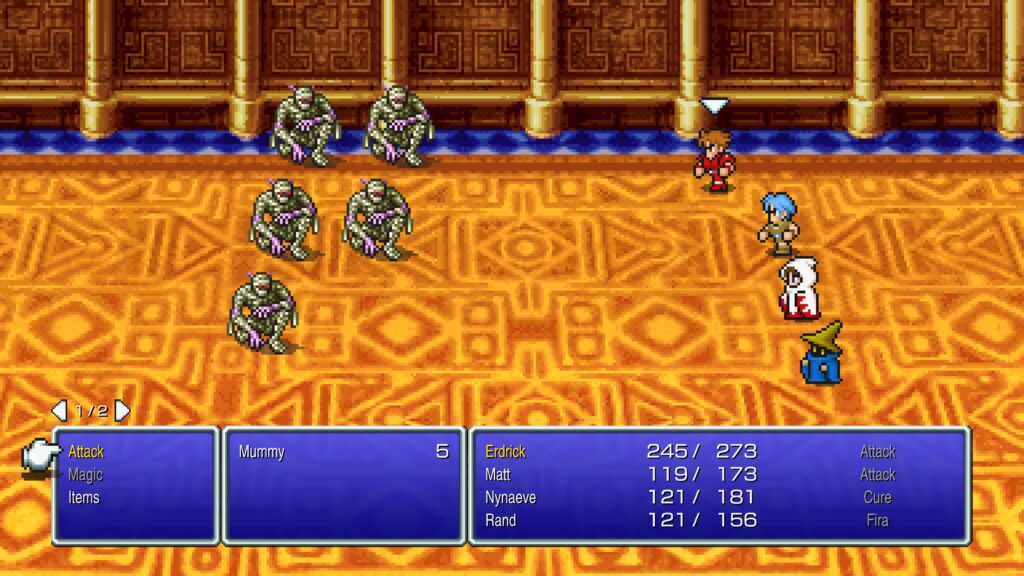
Next, I battle five mummies. These enemies are pretty easy. I get a Power Staff for my Black Mage.
The third box also contains five mummies. It yields steel gloves, which I give to my warrior.
I leave the Western Keep and return to the Marsh Cave. After using a tent, I head for the bottom floor where there is three locked rooms.
The far western room contains an optional fight with four Piscodemons and a monster-in-a-box encounter with six anacondas. I defeat both enemies and obtain a Silver Armlet, which I give to my white mage.
The middle room also has a monster-in-a-box fight with four Piscodemons. I defeat them and receive an antidote.
The far right room contains another fight with four Piscodemons. I get some cash for defeating them.
I leave the Marsh Cave and return to Elfheim to rest at the Inn and restock supplies before walking back to my boat and sailing to Cornelia. Cornelia castle contains two locked rooms with three chests each.
Return to Cornelia
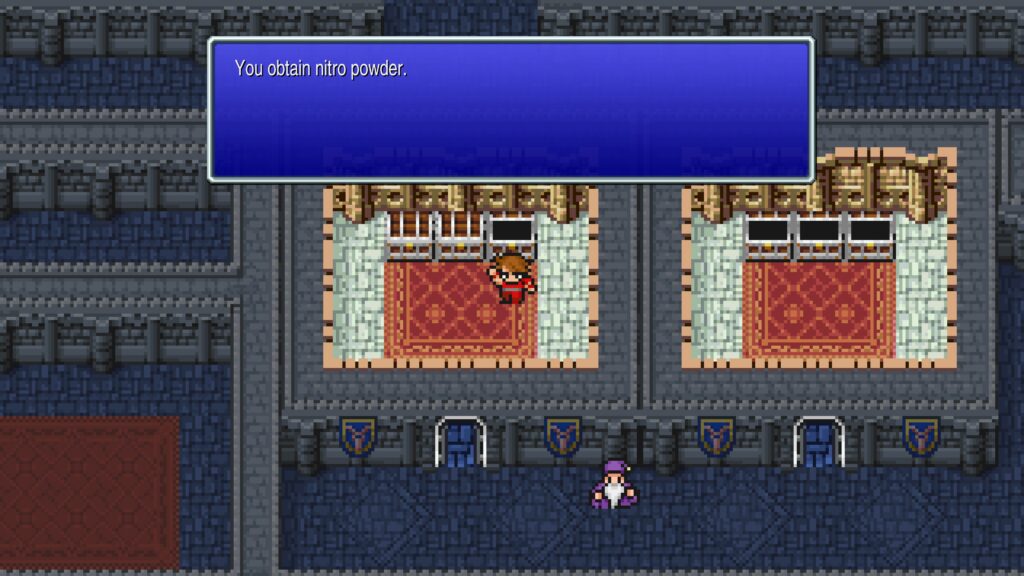
There are no monsters in these chests, just items. The only item of note is the nitro powder, though it is not yet clear what I need it for.
I leave the castle and return to the Chaos Shrine. The two locked boxes in the right-hand corner rooms contain a Rune Blade and the Werebuster.
Both are weapons, but only the Rune Blade is an upgrade. I give it to my warrior.
Somewhere, an NPC tells you about the dwarves to the west. I already know I need to head there next.
I return to my ship, docked near Cornelia and sail west until I reach another dock. I then walk south to a cave that leads into Mount Deurgar.
Mountain of the dwarves
I find some Dwarves and a few treasures here. I also meet Smyth, who says he could make a magical sword if he had some adamantite.
The chests contain a Great Helm, which I give to my warrior and some Mythril Mail that I don’t think was an upgrade for anyone. I also find the sword Wyrmkiller, which I give to my warrior.
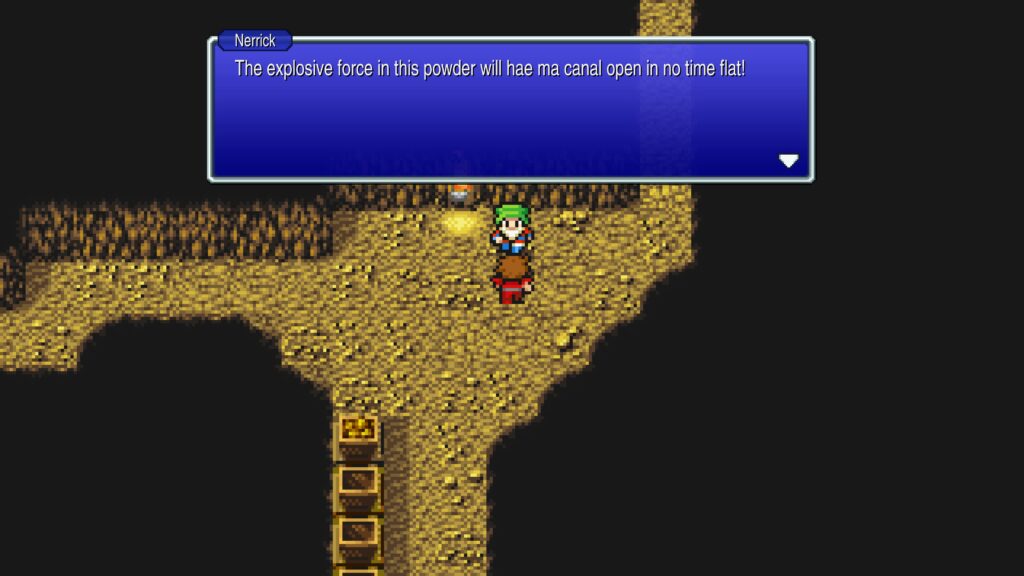
I meet Nerrick, who says he can use the nitro powder I found to blow open a canal. I give it to him and get a cut scene of the explosion and the canal opening.
Melmond rots
I return to my ship and sail it through the canal. I keep sailing west until I reach a dock near the town of Melmond.
Melmond looks like it has seen better days and the residents complain that an evil vampire to the west is causing the ground to rot. I rest at the inn and purchase the Curaga and Life spells for my white mage.
I get Firaga for my Black Mage. The shop also sells Scourge, Teleport, and Slowra, which can be useful, but I don’t have a lot of spare cash, so decide to skip them.
I purchase a Longsword for my warrior. This seems like a bit of a let down, since it upgrades the weapon I just acquired, but at least I can hand that down to the thief.
I also get Silver Armlets for my Thief and Black Mage. There is no item shop in the town, but I do meet Dr. Unne, who has a rather high opinion of himself.
A Vampire awaits
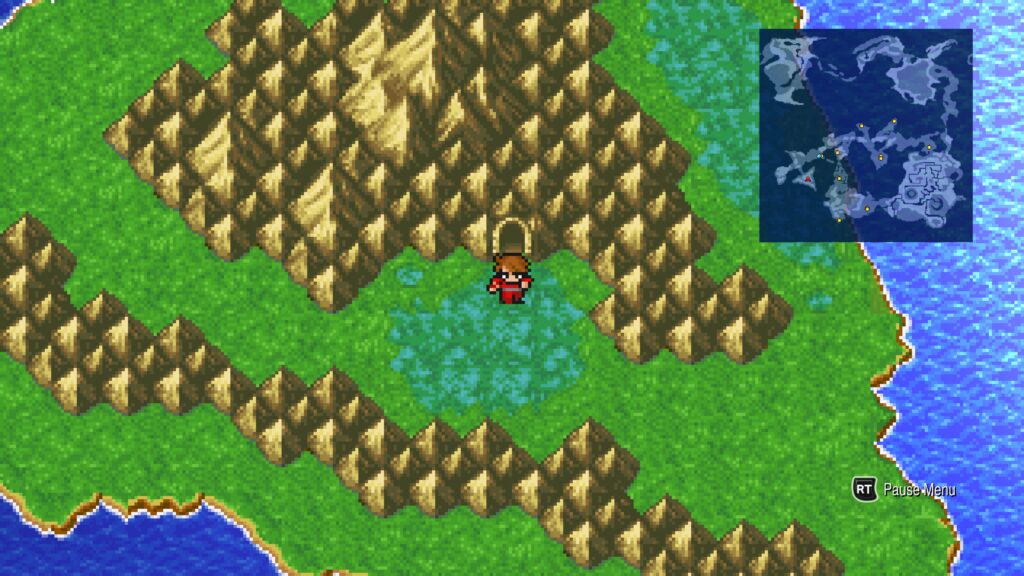
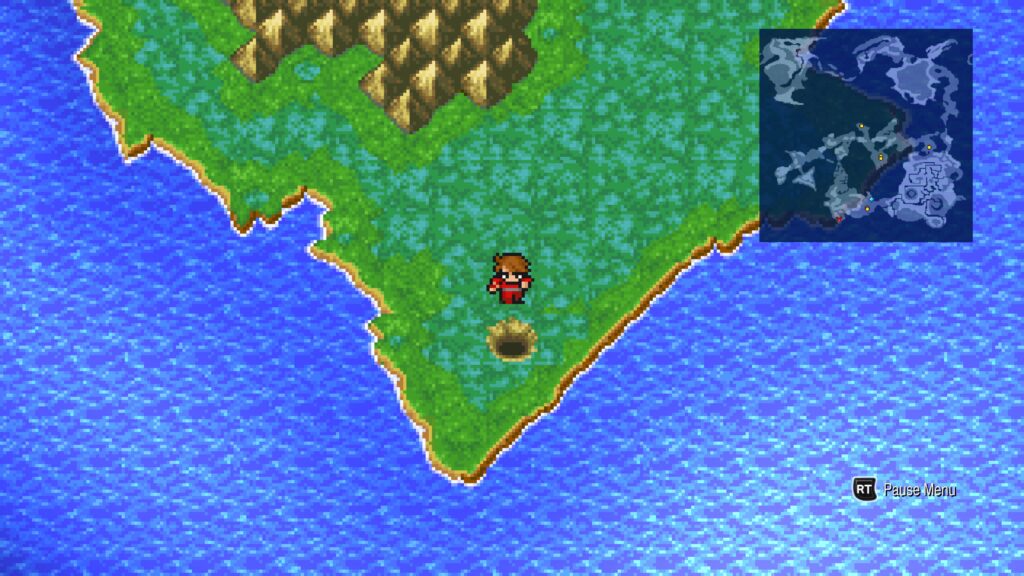
I walk west to a triangle-shaped peninsula, where I find another cave. I use a tent and go inside.
The Cavern of Earth contains several monster-in-a-box encounters with Earth Elementals. These enemies are a bit tougher than the random encounters, but require no special strategy.
The first floor contains a few treasure boxes with common items and a stairway down. The second floor is maze-like.
The far western side of the room contains a hallway filled with hill gigas encounters, known as gold row. In the original game, this was a popular location to grind experience and gil.
In this version, I don’t think it is necessary, so I skip it. The rooms on this floor contain some treasures.
The most valuable is the Coral Sword. It as an upgrade for my thief.
The third floor contains some more common treasures. Cockatrice are random encounters here.
These enemies have a special attack that can turn your party members to stone. If you get particularly unlucky and a large group gets a pre-emptive strike, they can wipe your whole party.
However, usually, bringing a gold needle or two, will be enough to keep you safe. I didn’t get turned to stone this time.
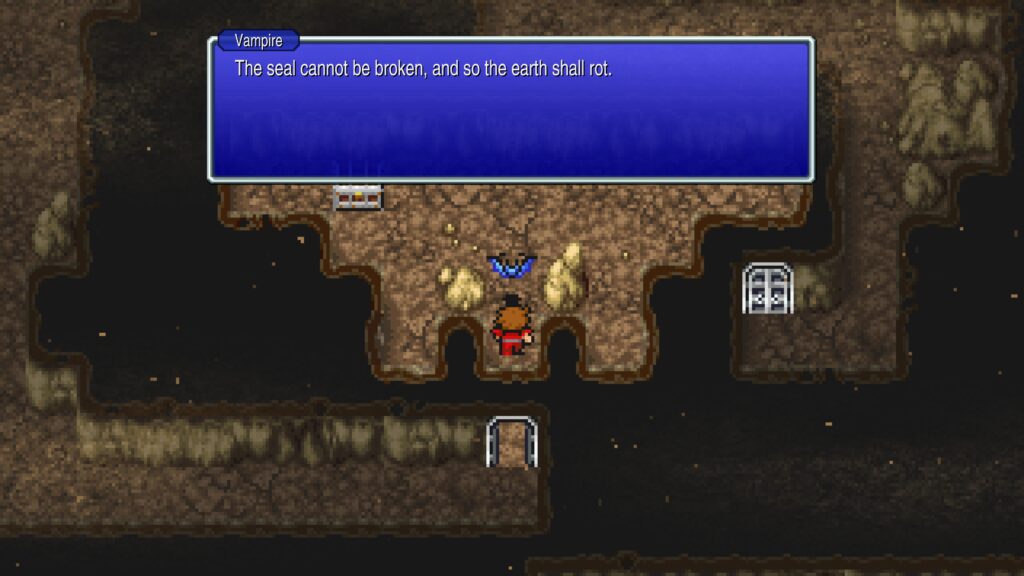
The level dead-ends at a room being guarded by a bat. When I interact with it, it turns into a vampire who tells me that the earth will rot because the seal cannot be broken.
The vampire claims that mere mortals cannot kill the undying. However, he is wrong. I defeat him easily.
A treasure chest in the room contains the Star Ruby, which has no obvious use at this point. There is another door that leads to a stone slab that emanates an evil force.
A seal blocks the way
I can’t go any further, so I exit the cavern. This part is tedious, but leaving isn’t as bad as getting in, since I don’t have to visit the rooms with the chests I already opened.
I decide to stop for the night after I exit the cavern and save the game. I am 3 hours and 25 minutes in. Next time, I will figure out what I need to do next.
Leave a Reply