On day 13 of my Final Fantasy Marathon, I finished Final Fantasy II Pixel Remaster. Today, I’m starting Final Fantasy III Pixel Remaster.
A job to do
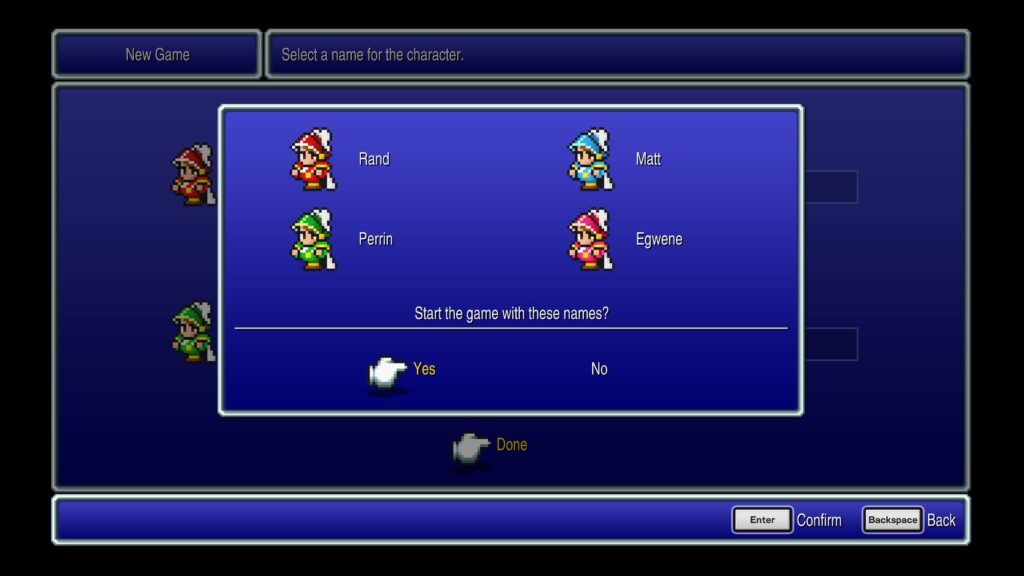
Like Final Fantasy II, your only choices in the character creation screen are your character names. All of your characters start out as Onion Knights.
The game begins with a cutscene explaining the story so far. The Gulgans prophesied that there is a catastrophe to come and the earthquake we just experienced is only the beginning.
However, hope is not lost, for four souls will be blessed with the power of light. Meanwhile, four orphaned youths from the rural village of Ur are out testing their mettle by exploring a cave that opened up after the earthquake.
Prologue
Our four heroes fall into a sinkhole. We tentatively begin making our way through the cave when three goblins attack.
We defeat them, but are baffled by why the cave is full of monsters. We fear we are in over our heads and resolve to exit the cave quickly.
Along the way, I find some treasure. I acquire some potions, two Leather Shields and two Antarctic Winds before reaching a life spring.
The life spring fully restores our HP and MP and any KO’d party members. The final room of the cave holds the Wind Crystal, but when we approach it, a Land Turtle attacks.
We take it out with the aid of the two Antarctic winds we found. When we interact with the crystal, it speaks to us.
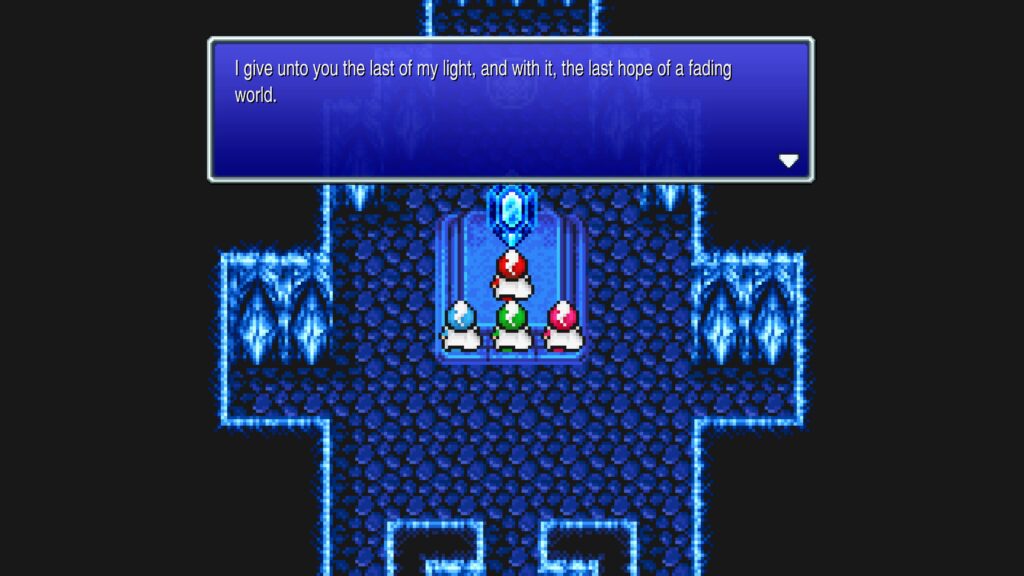
It tells us we have been chosen. The Crystal gives us the last of its light and tells us if we accept it, the crystals will grant us unimaginable strength.
The Crystal then tells us we can’t allow light to fade from the world. We then get another scroll telling us that the power of the Crystal surged through our heroes and they accepted their destiny.
The Crystal’s power opened up the jobs of Warrior, Monk, White Mage, and Red Mage. We can now elect to stay Onion Knights or choose any of these jobs.
Job system
Final Fantasy III has a unique leveling system. As you fight battles and gain exp, you gain both levels and job levels. There are 22 jobs available in the game.
You can change your job at any time, but this makes it harder to get your characters to high job levels. Both your overall level and your job level impact how effective your character is and the jobs you choose impact how your stats develop.
Min/Maxers tend to follow a specific pattern of jobs to maximize their end game stats. I plan to choose jobs with the end goal of trying out all of them.
I’ve tried playing every class all the way through from the point it becomes available and it’s really not all that interesting. Some jobs are direct upgrades of other jobs.
Also, the game was designed for you to switch jobs around to fit specific scenarios. So instead, what I intend to do this time, is choose my “base” jobs so that I end up playing all the classes at least for a while.
This will require two playthroughs. As with the other Pixel Remaster games, I have already completed all the Steam achievements for this game.
For this playthrough, I make Rand a Red Mage, Matt a Monk, Perrin a Warrior, and Egwene a Black Mage. That leaves White Mage as the job I need to pick up in the next playthrough.
Cave round two
Once I have my jobs assigned, I leave the cave, but immediately return to pick up some treasure. It’s mostly basic starting equipment, but might as well.
Topapa

We return to Ur and speak to our adopted father Topapa. He tells us that we can’t let the strength given to us by the crystals go to waste.
Topapa commands us to leave at once to seal away the powers of darkness. Another new feature of this installment is that most towns have chests and/or items to find.
Some chests are hidden in rooms you must find by walking through secret passages in walls or finding hidden switches. Items are often concealed in trees, bushes, and pots.
You can see how many chests and items are in each town by checking the map. There are eight chests and six items in Topapa.
One of the chests contains a Cure spell, which I give to Rand. I purchase the Poisona spell for Rand at the magic shop along with some basic gear and supplies.
Ghost town
There are only a couple of accessible locations. Directly south of Ur is a town called Kazus, which is currently inhabited by ghosts.
There are no chests and five items in the town. By speaking with the ghostly townspeople, I find out that the Djinn cursed the town.
Only a mythril ring, made in Kazus, can contain the Djinn’s power. With the townspeople all ghostified, they can’t make one, but they did give one to Princess Sara of Sasune.
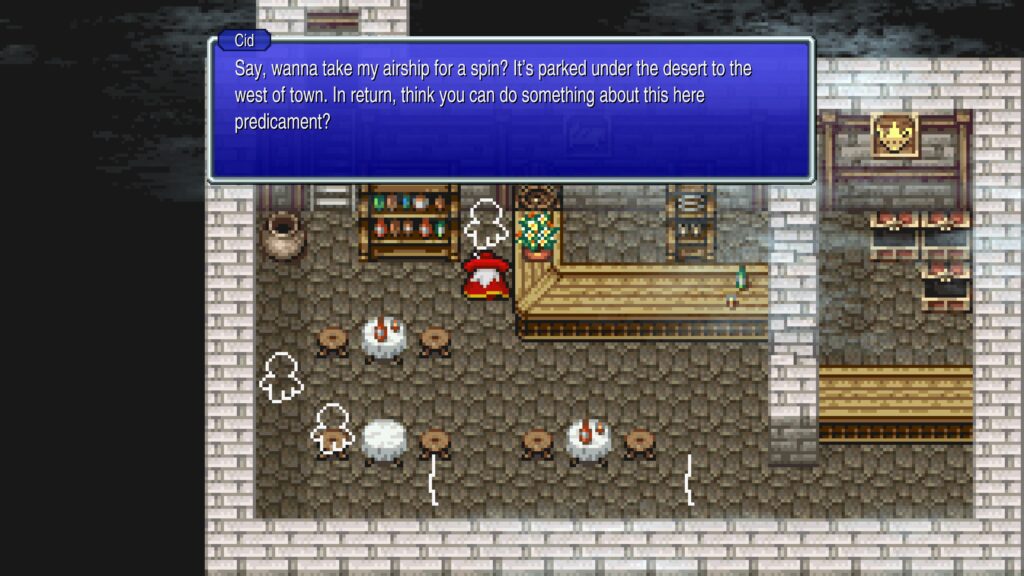
We meet a ghostly Cid in the inn. He tells us a boulder is blocking his way back home. He reveals the location of his airship in the western desert, in the hopes we will use it to get him out of his predicament.
We leave for the western desert and find Cid’s airship. I then fly the airship to Castle Sasune, in the hopes of finding Sara and her ring.
Unfortunately, the Djinn have turned all but one denizen of the castle into ghosts and Sara has gone missing. The King fears the Djinn kidnapped her.
There are 13 chests and one item in the castle. I get a Blizzard spell in one chest and give it to Egwene.
I speak with the ghostly King who asks me to defeat the Djinn in the northern cave and tells me about a secret door in the cave. Before I leave, I battle a Griffin in a monster-in-a-box encounter to get the Wightslayer, which goes to Rand.
I also take a nap in the princess’ bed. In this game, you can sleep in beds throughout the game to recover your HP and MP, as well as restore it at the lifesprings in some locations.
The Sealed Cave
I fly the airship north to the Sealed Cave. It contains five chests and no items. I find the princess inside.
She went into the cave hoping to seal away the Djinn, but couldn’t get past the monsters. She joins my party, but not like the various randos in Final Fantasy II.
She doesn’t fight with us; she just follows us around. We confront the Djinn and Sara attempts to use her ring to banish him.
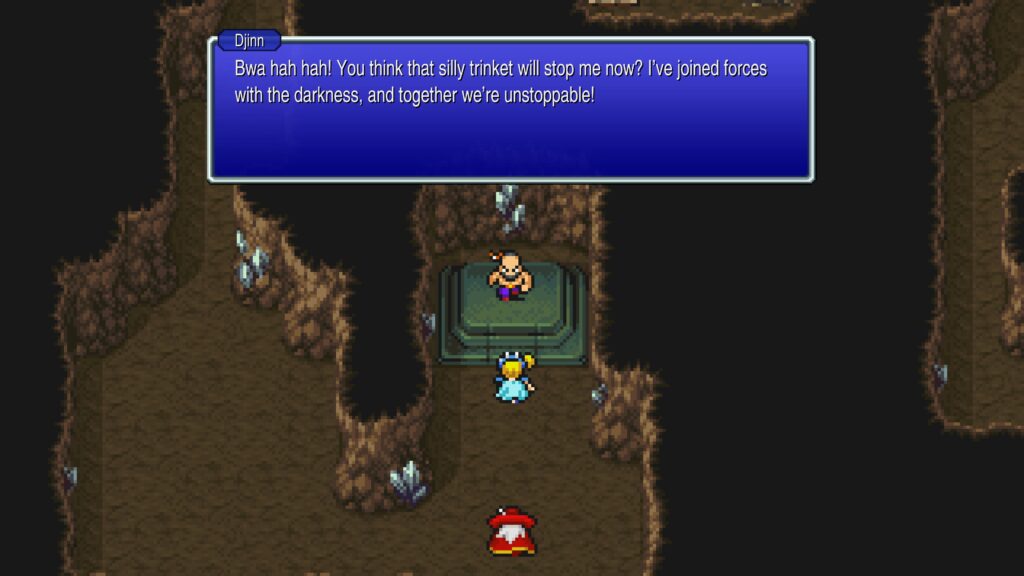
It doesn’t work. The Djinn has joined forces with the darkness, and is too strong for the ring to seal him away.
The Djinn attacks. We defeat him with the aid of the Antarctic Winds we found in the cave.
Now that he is weakened, Sara can seal him away with her ring. The Djinn disperses and Sara uses her ring to warp us back to the castle.
Sara tosses the ring into the wellspring at the castle, restoring the citizens to their human forms. She tells us she’d like to come with us on our quest, but fears she’d just be in the way.
Instead, she vows to await our return. The King thanks us for defeating the Djinn and saving his daughter.
He rewards us with a canoe. We walk back to Kazus, since our airship is still parked outside the cave.
Return to Kazus
Cid greets us as soon as we step into town. He asks if we will take him back to his home in Caanan and joins the party.
Hidden about town, we find a Mythril Helm and some other items. Cid speaks to the town blacksmith and asks if he can attach a mythril prow to the airship so we can smash through the boulder blocking our way to his home.
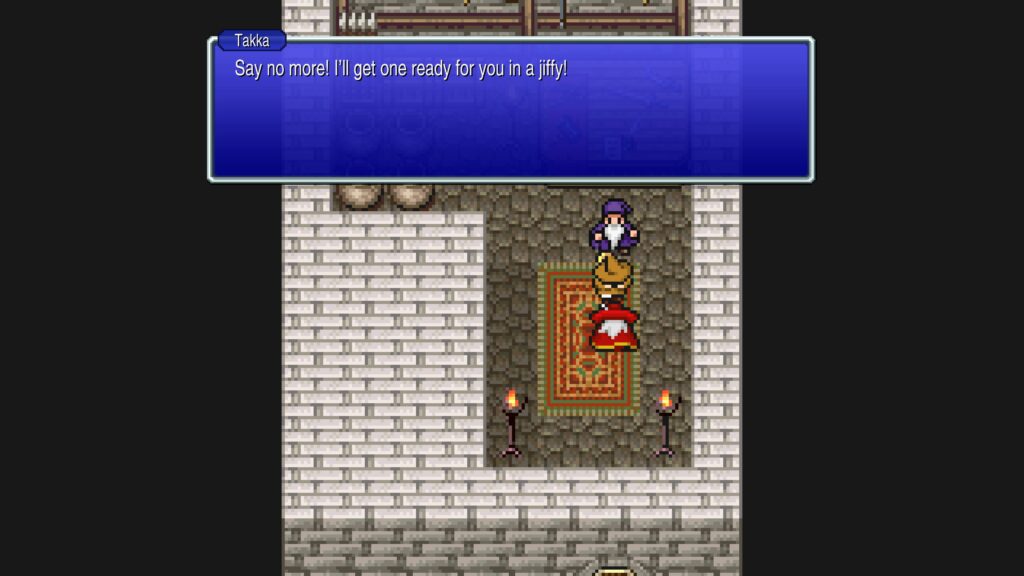
Takka makes the prow and attaches it to the ship. We head into the Mythril Mines in the town which contain two chests in a room we must press a hidden switch to access.
Both chests contain Mythril Swords, which I give to Perrin. I purchase Fire spells for Rand and Egwene in town.
Caanan
After restocking supplies and resting at the inn, I use the airship to smash the boulder. Unfortunately, this destroys the ship and we must walk the rest of the way to Caanan.
It isn’t far. When we arrive, Cid thanks us and then leaves the party after suggesting we visit with King Argus to learn about airship improvements.
There are three items and 12 chests in the town. We go to Cid’s house and find his wife is very sick and in need of an elixir.
Fortunately, we find one hidden in the town. I give the elixir to Mrs. Cid and she recovers.
Cid rewards us by telling us about a secret stash in his hanger. We retrieve a Great Bow and some other items from the chests.
Bahamut
Our next destination is a mountain nearby. When we approach, a giant dragon lands on the peak.
Dragon’s Peak contains three chests. I get the Aero spell from a chest and give it to Rand.
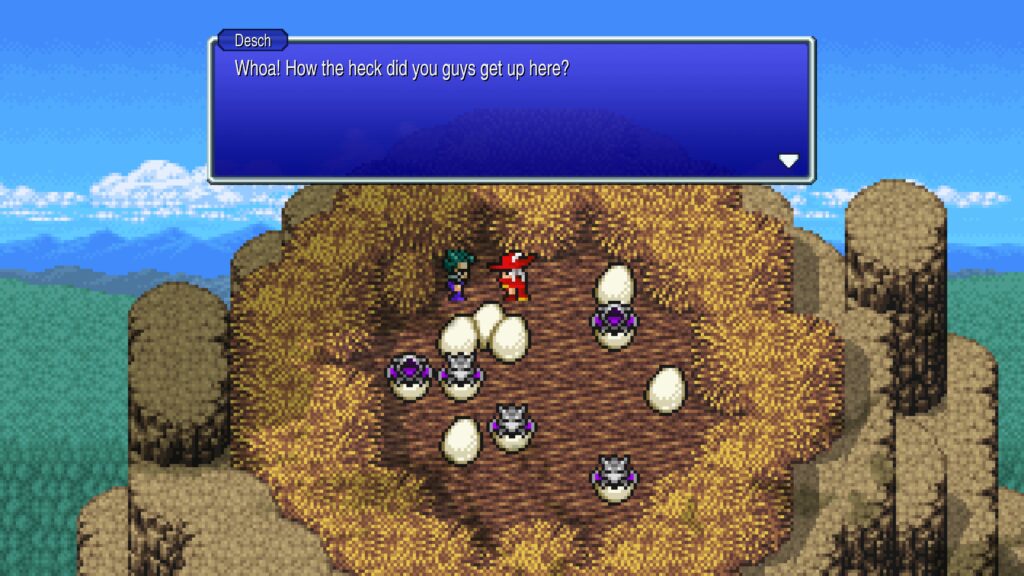
As we near the top of the mountain, the dragon snatches us and then drops us into its nest at the peak. We spot a wiggling bush and find a green-haired fellow named Desch.
Desch has amnesia and can’t remember anything other than his name. The dragon returns and Desch tells us to run for our lives.
The dragon, which turns out to be Bahamut, attacks. We are no match for him, so we run.
Bahamut KOs Matt, but we escape. Desch gives us the mini spell, which I have Rand learn.
Desch joins the party and we jump off the mountain. Somehow, we not only don’t die, but land pretty far away in another part of the map.
Gnomes
We land near a forest area where a gnome tells us we can visit his home if we cast the mini spell on ourselves. After using the springs in the forest to revive Matt and restore my HP and MP, I walk south, cast mini on my party and enter Tozus Forest.
There are two chests and four items in the town. I find the Cura spell and Fire Staff and give them to Rand.
I also find a Vest and some Mythril Bracers. I speak to Shelco, who needs an antidote for something he ate.
I give him one and he thanks me by opening up a secret passage that leads to a shortcut to Miralka Basin. I find two more chests that contain some Mythril Bracers and a Mythril Rod, which I give to Egwene.
Tozus Tunnel
We must stay in mini form to pass through the tunnel. Physical attacks are very weak in this state, so I change Perrin and Matt’s jobs to Black Mage and give them the extra Fire spells I purchased at the shop in town.
I rest up at the Inn, so my new mages will have MP to use and then head into the tunnel. There are no items or chests.
Vikings Cove
The tunnel exits near the Vikings’ Cove. There are six chests inside.
I find the Thundara, Fira, and Blizzara spells, which I give to Egwene. I speak to the pirate boss and he says if we get rid of the Sea Monster that has him and his crew hiding in the cove, he will give us his ship.
Nepto Temple
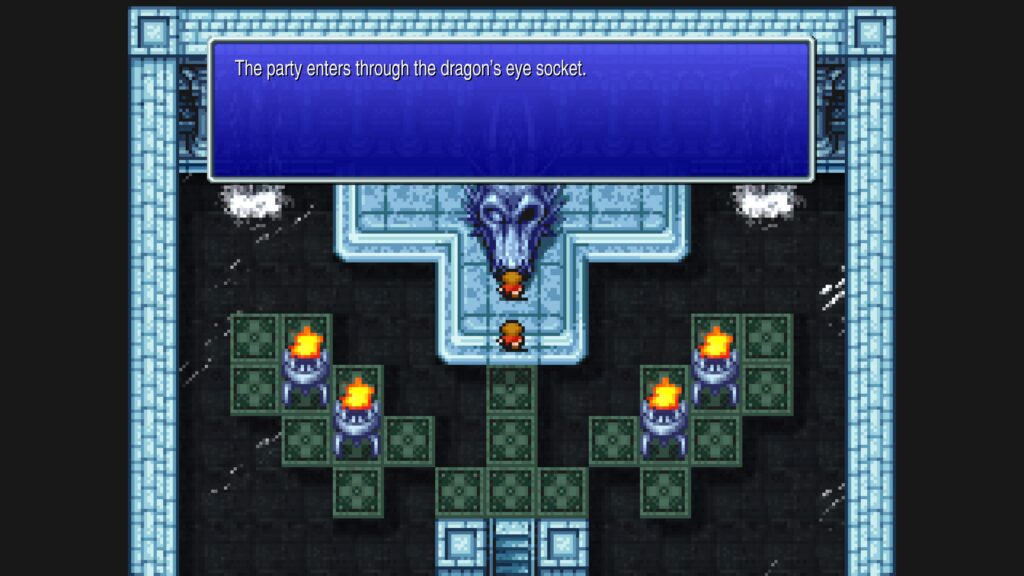
The pirates warned me not to attempt to sail, so I walk past the ship and enter the Nepto Temple. I’m still in mini form, which allows me to pass through the dragon’s eye socket to enter the temple.
There are three chests and two items in the temple. I find the Shell Helm, Shell Armor, and Serpent Sword in the chests.
I can’t use these items in my mage job. Eventually, I find a Giant Rat who attacks me because he doesn’t want me to take the gem he is guarding.
It takes several rounds, but I defeat the rat and receive the Nepto Eye. I return to the Nepto Dragon and place the eye in its socket.
The Nepto Dragon thanks me and says the eye is the vessel for its soul. Without the eye, it was unable to control it’s physical manifestation, resulting in the sea dragon attacking ships.
The dragon thanks me by gifting me the Fang of Water, saying I can use its power to destroy obstacles that may block my path. He tells me that water lost that which once shimmered within, causing the great earthquake that trapped the light of the elements deep within the earth.
Now that I no longer need to be mini’d, I cast the mini spell on my party and return Perrin and Matt to their former jobs. Perrin gets the equipment we got in the temple.
Gulgan Gulch
We board the pirate ship and sail north, landing near Gulgan Gulch, which is the home of the blind creatures we saw in the opening cutscene of the game. There are three chests and no items.
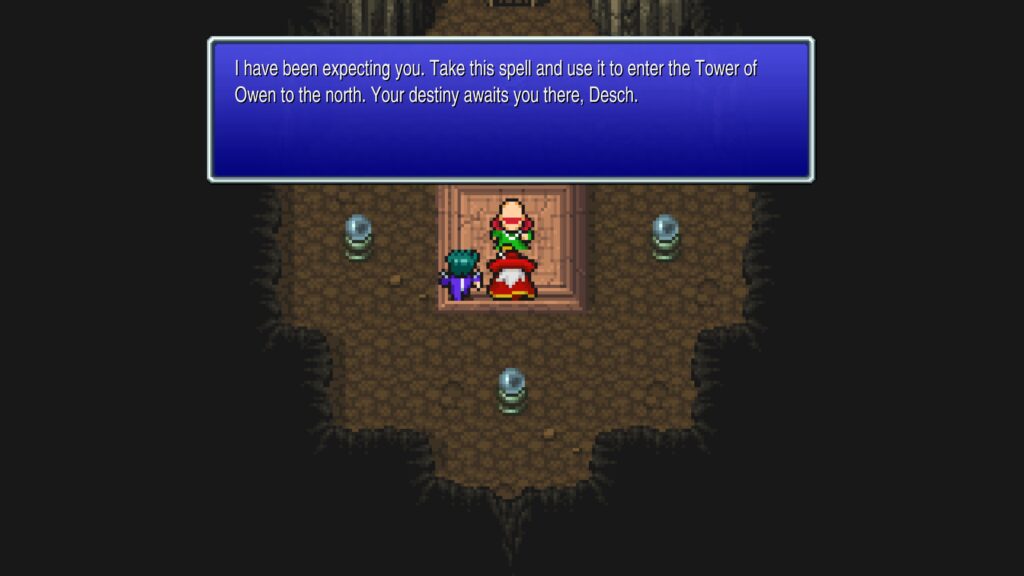
We speak to one of the Gulgans, who gives us the Toad spell and tells us to use it to enter the Tower of Owen. He says Desch will meet his destiny there.
I have Rand learn the Toad spell. We find a Fire Rod, Ice Rod, and Mage Robe in the chests.
I give these to Rand. We then walk back to the ship and sail further north to the tower.
Tower of Owen
The Tower of Owen sits next to a narrow ocean passage blocked by a giant whirlpool. It contains nine chests and no items.
To get into the tower, Rand must cast toad on the party to turn us into frogs. This allows us to dive underwater.
Fortunately, I don’t have to stay in frog form in the Tower, so I cast the spell again to switch everyone back. A voice taunts us, telling us the tower will be our final resting place.
Desch says this place looks familiar. Further into the tower, he remembers that he is an Ancient.
I find the Tyrfing in a chest and give it to Rand. Perrin gets the Salamand Sword and Flame Mail.
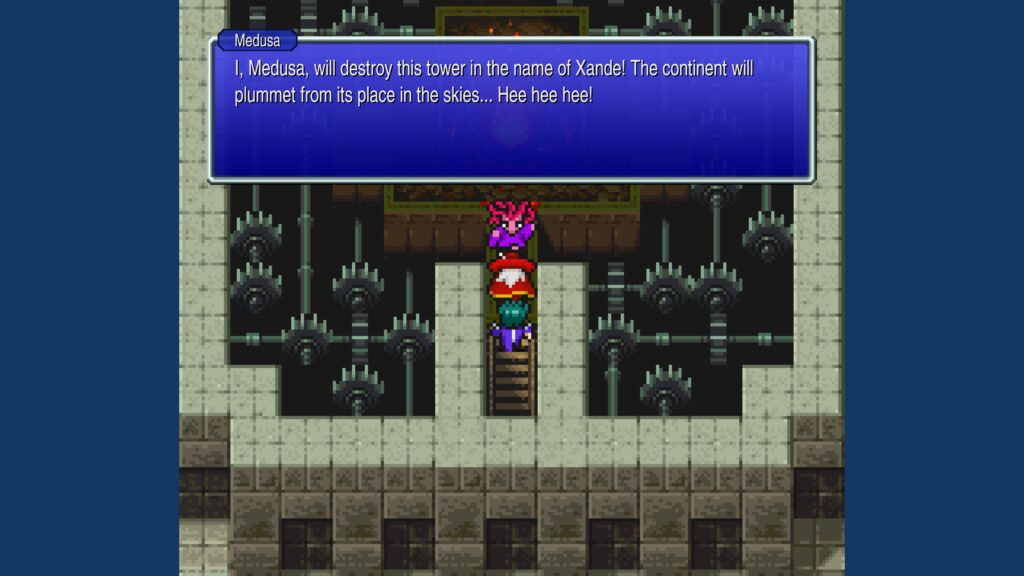
Eventually, we reach the top of the tower, where we find Medusa. She tells us that she will destroy the tower in the name of Xande, causing the continent to plummet from the skies.
Egwene is the star of this battle, using her magic to do the bulk of the damage to Medusa. We defeat her after several rounds, but it appears the tower is about to explode.
Desch remembers that he is the watchman of the tower. He was only supposed to awaken if something happened to the tower, but he had been sleeping so long, his memories were scrambled when he awoke and he forgot his purpose.
Desch says he can stabilize the flames, but must do it from inside the reactor. He bids us farewell and we try to talk him out of jumping in.
Desch says it is his destiny. He tells us that once he repairs the furnace, the whirlpool will stop, allowing us to search the dwarven island for the Fire Crystal.
He also promises to warp us outside once he is in the furnace. Desch hops in and warps us out as promised.
The whirlpool disappears. I quit at two hours and 35 minutes in.
Leave a Reply