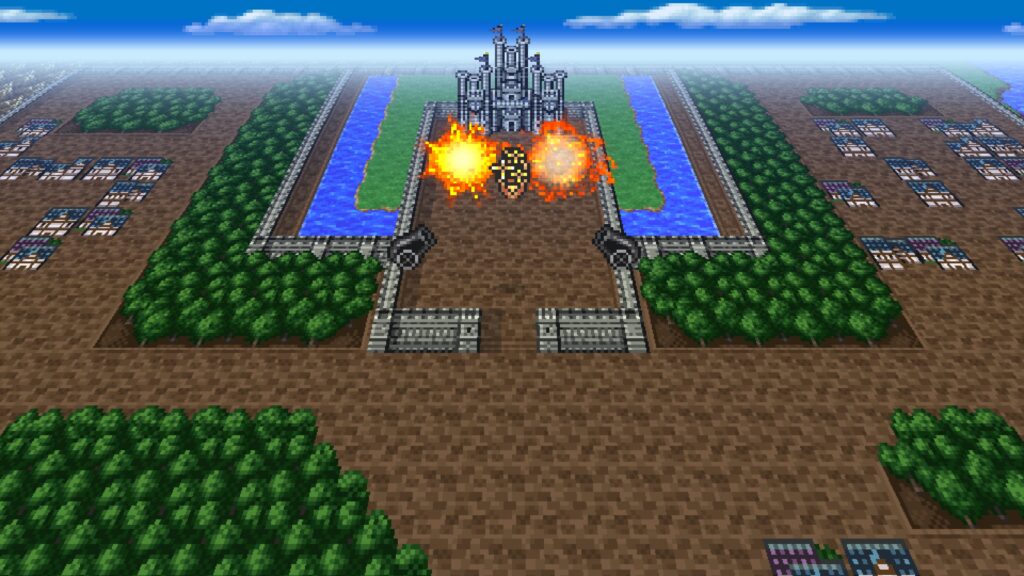
On day 14 of my Final Fantasy Marathon, I conquered the Tower of Owen to open up a passage to the Dwarven Island. Today, I’m sailing to the island in search of the Fire Crystal.
The Dwarven Hollows
A cave on the island contains the Dwarven Hollows. There are 16 chests and one item, though none of it is accessible at the start.
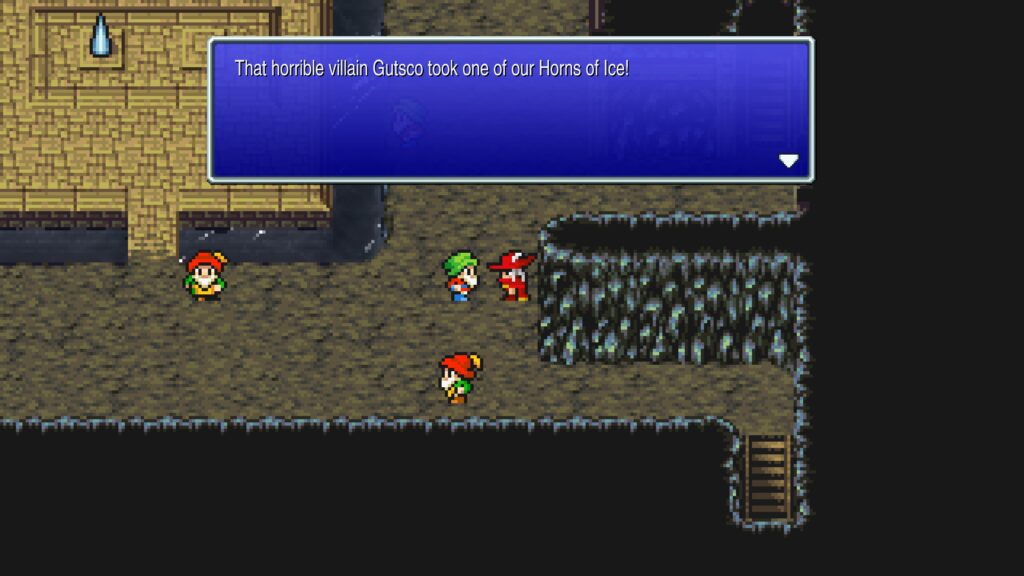
Someone named Gutsco took one of their Horns of Ice into the subterranean lake. Dwarves can’t swim, so they want me to retrieve it for them.
After resting at the inn, and purchasing some supplies and equipment upgrades, I walk over to the lake. I use the toad spell to turn the party into frogs and dive into the water.
The Subterranean Lake
I cast it again to turn us all back human. There are seven chests and one item in the Subterranean Lake.
The enemies here hit pretty hard, and I burn through my phoenix downs, leaving Matt dead for much of the dungeon. When I find Gutsco he tells me to stay away from the horn if I want to live and then attacks.
He has a fair amount of HP and strong physical and magical attacks. It takes me two tries to defeat him.
I get the Horn of Ice and walk back out of the cave. It is obvious someone is following me, but the game gives me no option to do anything about it.
A super obvious trick
I return to the Hollows and the dwarves instruct me to put the horn back where it goes. They lower the barrier protecting the horns, and predictably Gutsco shows up and grabs both horns and runs off with them.
Gutsco crows about how he can use the horns to get past the flames blocking the cave that leads to the Fire Crystal. The Dwarves plead with me to go to the mountains in the north to get the horns back.
Molten Cave
I rest up at the inn and restock my supplies before returning to my ship and sailing around to the Molten Cave. Once again, I have a hard time keeping Matt alive, and he spends most of the dungeon KO’d.
I find a Freezing Blade in a treasure chest, which I give to Perrin. I find Gutsco in the cave with the Fire Crystal.

He is using the Crystal’s power to make himself more powerful. He attacks, this time as a Salamander.
This is a tough fight. Matt is dead at the start of it, and I have no way to revive him. Fortunately, the three remaining party members can all do some decent damage to the Salamander.
However, its powerful fire spells that hit the whole party, end up KOing Rand and Egwene, leaving me with just Rand. His strong resistance to the Salamander’s magic helps him stay alive long enough to whittle down the Salamander’s remaining HP, but he was just barely alive by the end of the fight.
The Fire Crystal grants us its power, opening up the Ranger, Knight, Thief, and Scholar jobs. Interacting with the crystal revives my KO’d characters and fully restores everyone’s HP and MP.
Since I’m playing this twice, I don’t have to use all of these jobs right now, but I’m going to anyway, eventually. I make Perrin a Knight.
He retains the Freezing Blade and gets the Ice Helm, Flame Mail, and Mythril Gloves as equipment. I plan to make Matt a Thief, but I don’t have any weapons a thief can equip right now, so I’ll hold off on that.
I also plan to make Rand a Scholar, but don’t have weapons for that class either, so I wait. I swap Egwene to the Ranger class.
She gets the Great Bow, Leather Cap, and Shell Armor. With my jobs all set, I use the warp pad to leave the cave and sail my ship back to the Hollows.
A plea for help
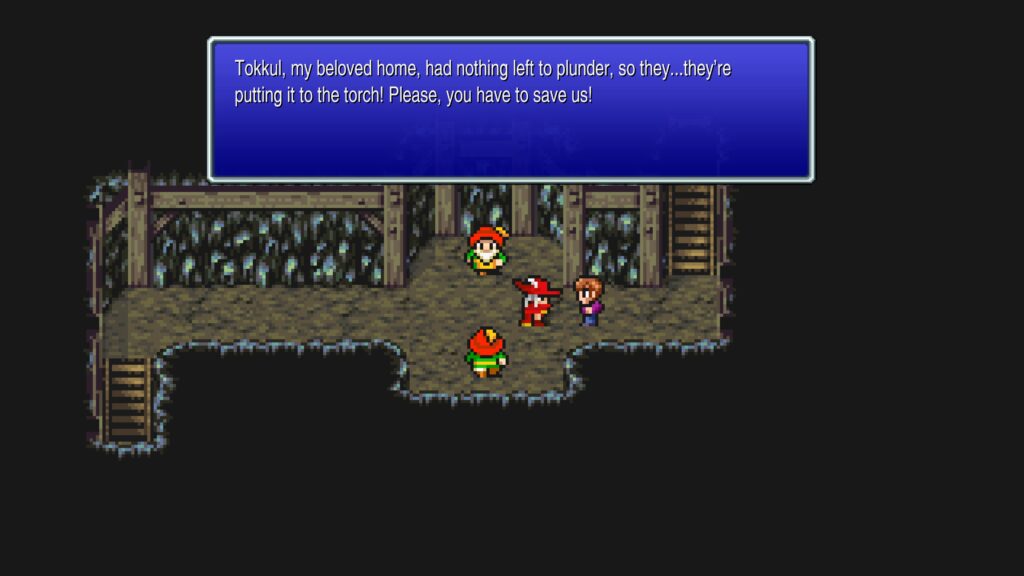
As soon as I set foot in the Hollows, a young man shows up asking for help. He says an unnamed assailant is planning to put his home, Tokkul, to the torch.
He also warns us that Hein, presumably the attacker, can change his weakness and says a scholar can see through his tricks. Inside the Hollow, the Dwarves reward me for bringing back their horns with a Magic Key and access to their vault.
Inside the vault, I find a Killer Bow, which goes to Egwene, and a Scholar Robe, Book of Fire, Scholar Hat and Book of Ice that go to Rand, who I now switch to the Scholar job. I also get some Knight Armor, and a Heroic Shield for Perrin.
Journey to Tokkul
On my way to Tokkul, I decide to stop off at the Village of the Ancients. The village has no chests and one item.
Though I currently have no magic casters in the party, I pick up a couple of spells for future use at the magic shop and buy some equipment upgrades. I get a bit of story by talking to the residents.
They tell me that the Ancients caused a catastrophic flood of power, called the Wrath of Light, by messing around with the Crystals. This caused untold ruination.
Four warriors from the world of darkness came to subdue the flood of power. The Ancients who remained, settled in the village.
A young man in the village dares me to circle the whole continent on a chocobo, which I do. He rewards me with some worthless Gnomish Bread.
I also find a Serpent Sword, which isn’t useful to anyone in this party. I leave the village and pass a dessert area where I see something that looks like a giant Cousin Itt moving around.
Tokkul
I enter Tokkul, which has two chests and five items. Before I can look for any of them, I get frozen by magic.
Some soldiers beat me up and take me to Castle Hein. Castle Hein has 11 chests and one item.
Castle Hein
I awake in a cell with King Argus and some of his men. The King tells me that Hein cursed his soldiers, forcing them to do Hein’s will.
Hein used to be the King’s most trusted adviser, but since the earthquake he has been under the influence of some dark force. The King wants me to find Hein and defeat him.
One of the soldiers tells me that Hein carved this castle out of the Elder Tree and cursed it to roam the desert. One of the soldiers found a small hole, but says he won’t live long enough to use it to escape.
He gives me a mini spell. I swap Rand back to a Red Mage long enough to shrink the party and walk through the hole.
I then reverse the spell and change Rand back to a Scholar. I find the Royal Sword in a treasure chest and give it to Perrin.
We find Hein, who attacks us. Hein’s gimmick is that he can use his magic to make himself resistant to every type of damage except one and he can change his weakness at will.
However, I can use Rand’s Study ability to discover Hein’s weakness. The weakness is usually some type of magic and I have no magic caster to take advantage of it.
However, I can use Rand’s alchemy ability to throw supercharged magical items at Hein to exploit his weakness. Unfortunately, the only items I currently possess are Zeus’ Wrath, which cast a lightning spell.
As a result, I have to use physical attacks until his weakness is lightning and then hit him with the Zeus’ Wrath. It takes awhile, but I defeat him.
The Elder Tree
The Elder Tree thanks me for freeing it from the curse. He promises to return all the imprisoned humans to their homes.
He then dumps us in the Living Woods, where the Faeries thank us. The Elder Tree tells us that the light chose us to fight the darkness that threatens to envelop the world.
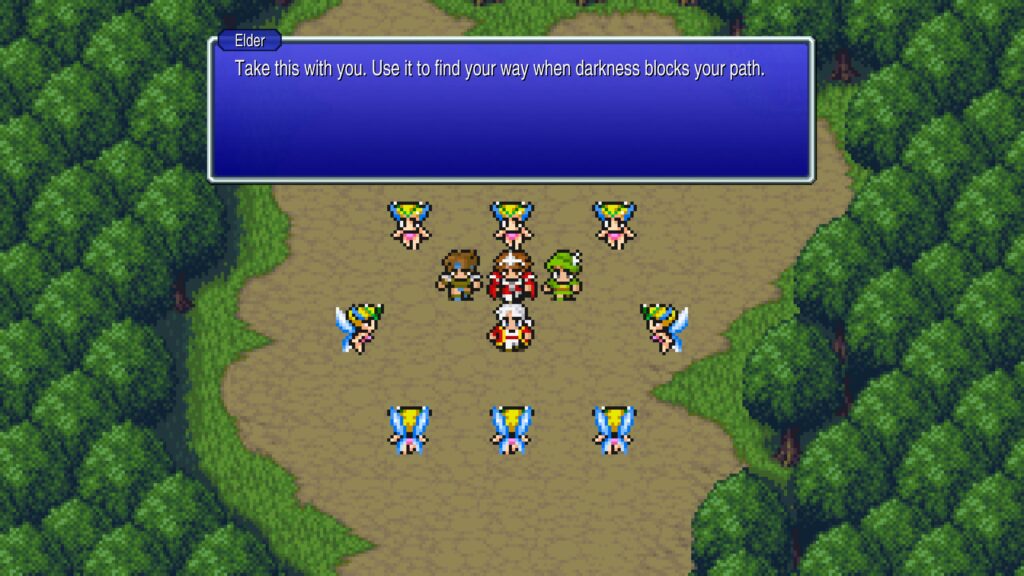
He gives us the Fang of Wind. He tells us that he will need to refuse visitors for at least a millennium to heal from the damage Hein caused and then kicks us out of the woods.
Castle Argus
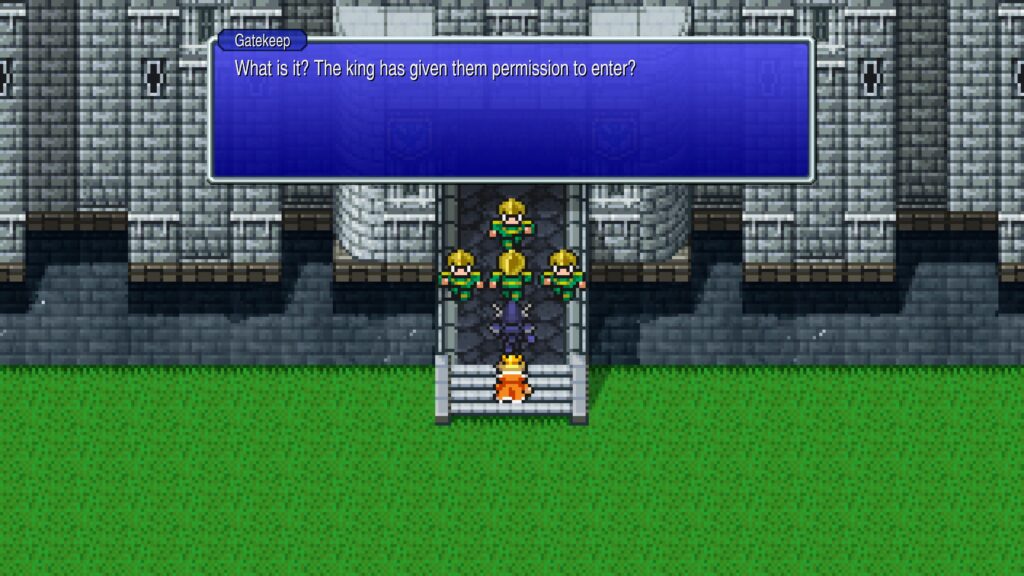
I walk back to my ship and then sail to Castle Argus. The Castle has 21 chests and two items.
The King gives us the Wheel of Time to thank us for saving his Kingdom. He says the Ancients constructed it and it has been in his family for generations.
He tells us to take the Wheel to Cid. I explore the Castle collecting chests, but they don’t contain any particularly notable treasure, even the ones locked behind doors that I must open by switching Matt to the Thief job.
I do get two elixirs from a white mage. Those are always nice to have.
Return to Tokkul
Before moving on to our next destination, I return to Tokkul to pick up the items and find the chests I wasn’t able to get to before. There wasn’t anything particularly useful.
Wheel of Time
I head to Caanan and give Cid the Wheel of Time. He uses it to construct a new airship. This one is convertible and works as both a regular ship and an airship.
The catch is, it can only land on water. I fly my new airship to the town of Gysahl.
There is one chest and five items in the town. Most of the items are worthless, but I do get a Shuriken, which will come in handy for the endgame.
I also buy the Blizzaga spell for future use. There’s a shop in the town that sells magic keys, but you can swap to the thief job to open doors for free, so I don’t buy any.
Wrecked Ship
I fly off the floating continent and find a world covered in water. There are a couple small spots of land and a wrecked ship.
I board the wrecked ship, which has two chests on it. I find a Blood Sword in a chest and give it to Perrin.
An Old Man tells me that the earthquake caused most of the world to be covered in water. He was on a boat at the time and used it to save an injured young woman.
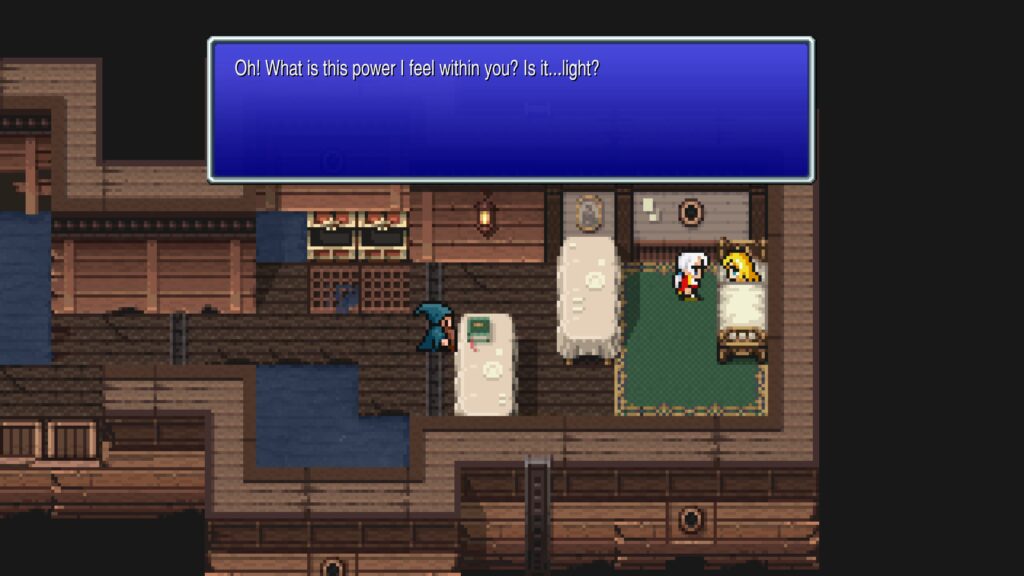
I give the young woman a potion and she wakes up. She recognizes us as the warriors gifted with the powers of the crystal.
She tells us that she is Aria, the priestess of the Temple of Water. Though she is injured, she wants us to take her there.
She tells us the earth’s power caused the earthquake, which buried the Water Crystal deep underground. Without the Water Crystal’s protection, the people turned to stone and plummeted into the ocean’s depths. Aria believes she can retrieve a shard of the Water Crystal from the Temple and use it to break the curse.
Temple of Water
Aria joins my party and we fly to the Temple of Water. It has no chests or items. Aria finds the shard and tells us we must take it to the cavern north of the Temple.
Cave of Tides
We go north to the Cave of Tides, which also has no chests or items. Aria opens a sealed door so that we can get into the inner sanctum.
We reach the Water Crystal, and Aria restores it with the shard. A cloaked figure shows up and shoots a cursed arrow at us.
Aria pushes us out of the way and takes the arrow in our place. The cloaked figure reveals himself as Kraken and says Master Xande sent him to ensure the Water Crystal never regains its former light.
Kraken attacks. It is weak against lightning, but with no black magic user in the party, I do the bulk of my damage by having Rand use the one Zeus’ Wrath I possess.
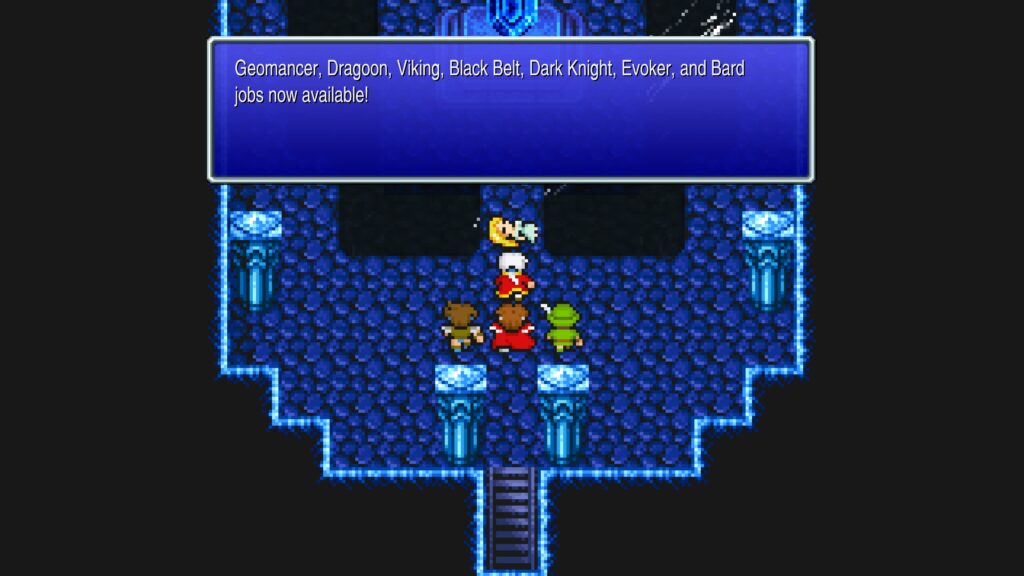
After that, I just wail away with physical attacks until it dies. Aria says her purpose is fulfilled and grants us the power of the Water Crystal.
This opens up the Geomancer, Dragoon, Viking, Black Belt, Dark Knight, Evoker, and Bard jobs. Another earthquake happens.
We wake up three days later in an inn in the town of Amur. A young girl tells us her grandpa found us collapsed in the ruins of the temple.
Amur
There are no chests and seven items in the town. My plan was to change Perrin to the Viking job, Matt to the Thief job, Rand to the Geomancer job, and Egwene to the Evoker job. But I learn from the townspeople that the next boss I’ll face is pretty much immune to magic.
So, for now, I return Rand to his Red Mage job so he can heal the party while still doing some physical damage. I switch Egwene back to Ranger.
Goldor is a weirdo obsessed with gold and paranoid about thieves who lives in a mansion across a bog in the south. He chained my ship up to keep me from leaving.
I’ll need some Levigrass shoes to get past the bog. I can get a pair from Delilah, who lives in the sewers.
I speak to an old man who opens up the gate so I can get in the sewers, though he warns me they are full of monsters. Four Fellows show up, claiming they are the true chosen ones.
They decide to beat us to the sewers and take off. I find some Thief Gloves, a Black Cowl, and some Black Garb hidden in the grass of an island in the river. I also purchase some equipment for my new jobs.
Sewers
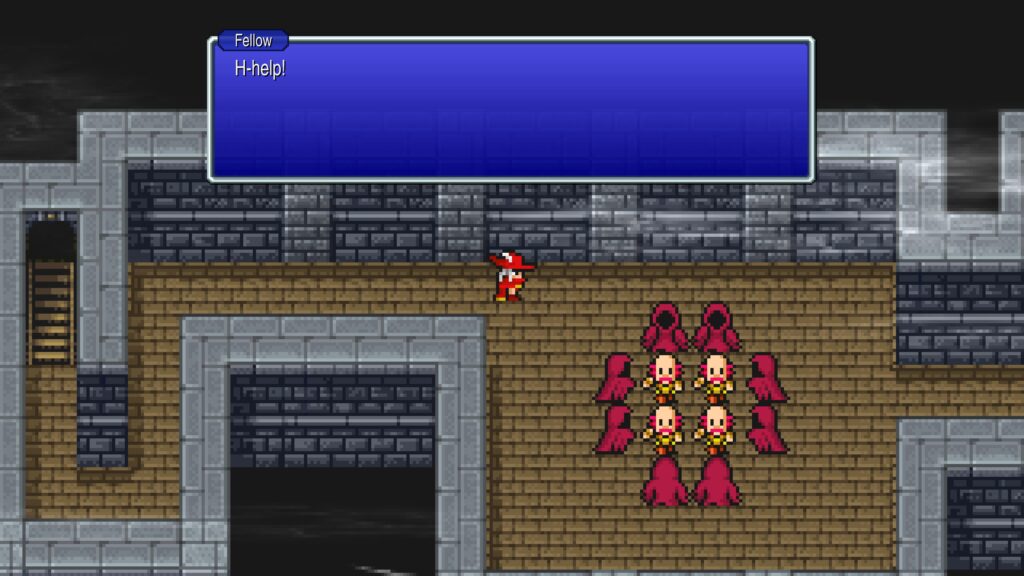
I go into the sewers, which have five chests and one item. I find the four Fellows surrounded by enemies and decide to help them.
A group of eight goblins attacks, but they are no match for my party. The Fellows thank us and say they owe us one.
They also decide they aren’t the legendary heroes after all. I find Delilah and tell her I need her levigrass shoes to get to the crystal.
She doesn’t believe that we are the legendary warriors and tries to throw some fake shoes at us that explode. The Fellows show up and warn us.
They also vouch for our identity and ask Delilah to give us the shoes, which she does. One of the Fellows teleports us out of the sewer with an ottershroom.
However, I missed four of the chests, so I go back into the sewers to find them. They are in two hidden rooms.
I get the Orichalcum for Matt and some Power Bracers for Perrin. The other two chests contain weapons I don’t end up using.
Goldor Manor
I rest at the inn and restock supplies before walking to Goldor Manor. The doors in the manor are all locked, but Matt opens them.
We find Goldor and he attacks us. Since he’s resistant to magic, I use physical attacks and heal with Rand’s white magic.
It takes a long time to beat him, and I burn through my Phoenix Downs before the end of the battle, leaving me with just Matt and Egwene alive. However, I eventually win the fight.
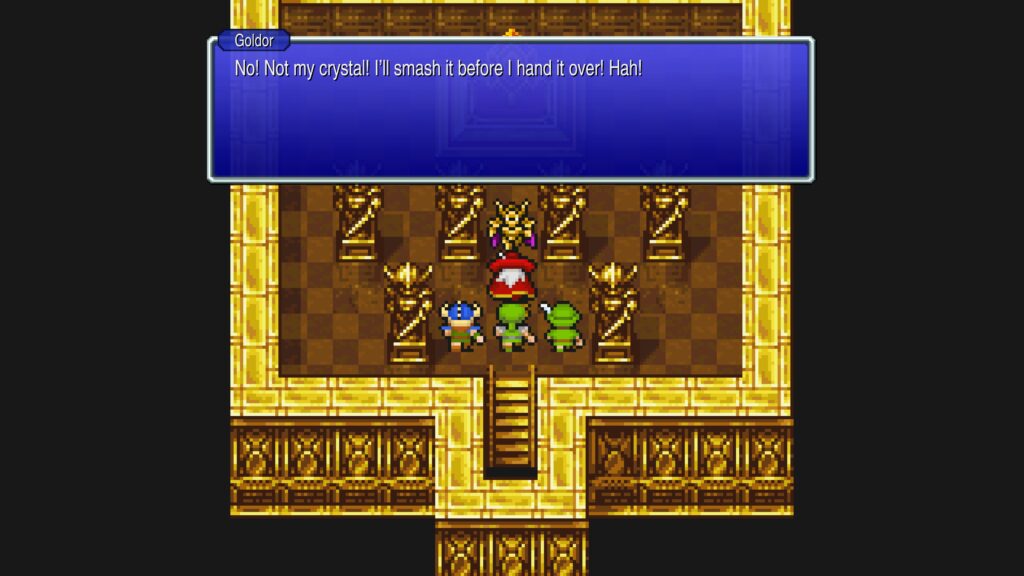
Goldor is a sore loser and decides to smash the Crystal so we can’t have it. We are dismayed by the destruction of the crystal but continue on with our quest.
When Goldor dies, he leaves a magic key behind that unlocks our airship. Before I leave the manor, I collect the treasure from the chests.
There are 11 golden swords, which are worthless as weapons, but I can sell for some gil. The 12th chest contains some Wyvern claws, which I don’t currently have a use for.
I use an ottershroom to teleport out of the manor. There’s a chocobo forest just to the south, so I grab a chocobo and ride back to the village.
Duster
I change everyone back to their regular jobs, rest at the inn, restock supplies, and get on the airship. I stop at a town on a small island called Duster.
There are no chests and two items here. The town is full of bards and geomancers.
I learn the continent to the south is called Dalg, but is difficult to reach due to the high winds. However, Saronia has a high-speed airship that can get through them.
The Bards give me some hints about where I can find various high-level summons and secret treasure troves. I purchase some gear for Rand.
Replito
My next stop is a little town in the far northwestern corner of the map. This town is full of evokers. There is one chest and four items here.
I get some more hints about where to find some summons and a tip about using summon magic against enemies that use Barrier Shift. I purchase the Escape, Icen, Spark, Heatra, and Hyper spells for Egwene.
Saronia
I fly to Saronia, and they promptly shoot down my ship. There are 20 chests in the castle, but I can’t get to any of them, because the guards won’t let me in.
Southwestern Saronia
The town is divided into four sections. In the southwest section, there are 11 chests and two items.
I learn that the king split his military into two forces and set them against each other. He also ordered all the shops to close, except for one weapons shop.
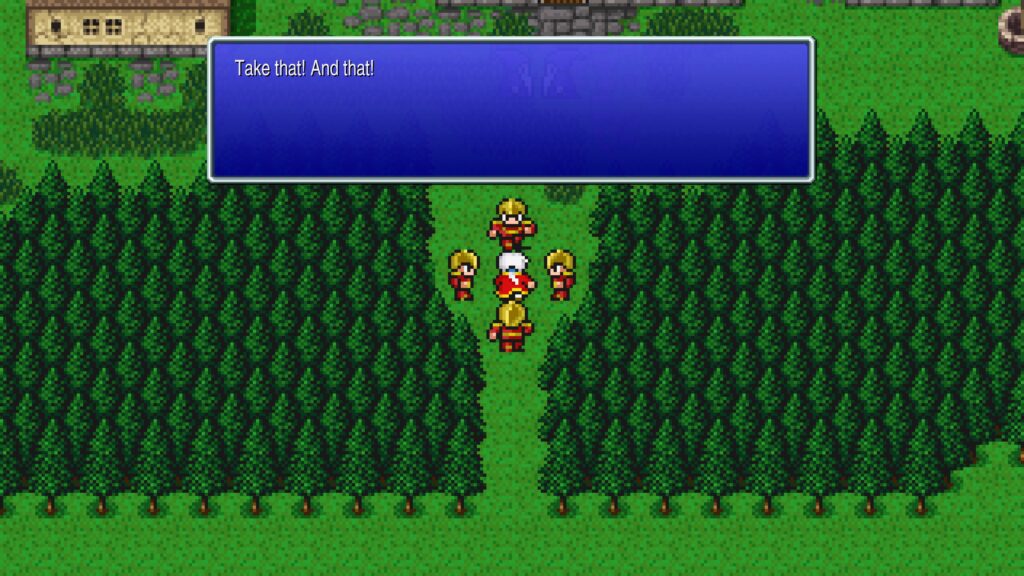
I go into the tavern and find a group of bullies harassing the prince. I intervene and four Gold Knights attack.
I defeat them easily. Prince Alus thanks me. He tells me that he tried to talk sense into his father after he set his own forces against each other and the King exiled him.
Alus asks us to help him and then joins our party. I get some Dragon Mail and a Wind Spear from a couple of Alus’ supporters.
The chests all contain Gysahl Greens. These items are useful in the original NES version of the game, but not in this version, because there is no need to summon fat chocobo.
Northwestern Saronia
The northwest section of town doesn’t have any items or chests, but it does have an inn and an item shop I can access. I rest up and restock supplies.
Southeastern Saronia
The southeast section also has no items or chests. However, it does contain the Dragon Spire.
Dragon Spire
The Dragon Spire has 12 chests and no items. The chests contain a decent stash of Dragoon gear.
Northeastern Saronia
The northeastern part of town has no chests and one item. I learn that only a dragoon can defeat the avian monster Garuda and that the townspeople suspect the King’s adviser is this monster.
Castle Saronia
Armed with this information, I change all of my party members to the Dragoon job and equip them with the items I got from the tower and Alus’ supporters. I then head to the castle.
The guards initially try to prevent us from entering, but another guard shows up and says the King wants them to let the Prince in. The guard escorts us to a room he says we can use until our scheduled meeting with the King tomorrow.
We settle into bed, but the Prince is troubled. He questions whether his father cares for him.
We reassure him that surely his father does, and something else must be going on. The King shows up and attacks the Prince with a knife.
Minister Gigametz comes in the room and tells the King to kill the Prince. However, the King turns the knife on himself instead.
Gigametz is shocked that the King was able to withstand his mind control. The King says he would rather die than raise a hand against his beloved son.
Gigametz tells the King he will kill the Prince. I intervene and Gigametz turns into the monster Garuda and attacks.
Garuda
Garuda casts a powerful lightning spell that hits the entire party. It is difficult to survive if you just stand there and fight, which is why the Dragoon is useful for beating it.
By jumping constantly, I can avoid some of the lightning attacks, though I do get hit by a few. I finish the battle with two living party members, but manage to defeat Garuda.
All hail King Alus
The King tells Alus that he doesn’t expect or deserve his forgiveness. He asks Alus to take his place on the throne and bring peace to Saronia.
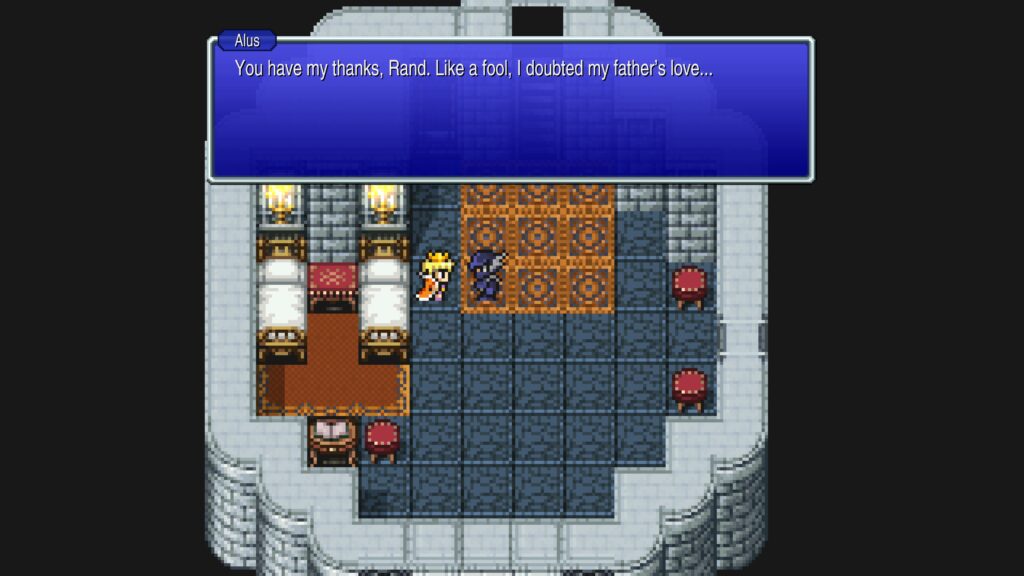
The King tells Alus he loves him and then dies. Alus feels foolish for having doubted his father’s love and thanks us for defeating Garuda.
He then assumes the throne as Saronia’s rightful king. One of the soldiers tells us about a secret passage to a treasure room and a bard tells us about a temple between Saronia’s “horns.”
King Alus says we can take whatever we want from the castle. The treasure room contains a lot of junk and repeats of items we already have, but we do get a couple useful items.
One chest contains a Golem Staff. Another has a Rune Bow. Another holds an Earthen Bell. Another has a Gaia Vest.
The mages tell us that the great mage Noah bequeathed his powers to his disciples Xande, Doga, and Unei. They say the only ones powerful enough to cause the current calamity are those three mages in Dalg.
They tell us the Nautilus’ engine is powerful enough to get is through the gales so we can reach Dalg. I open a hidden passage to an underground room with a couple treasure boxes and a glimpse of Odin hanging out in a room I can’t get to yet.
The Saronian Engineer Corps gives us the Nautilus. I change everyone back to their regular jobs, rest at the inn, and purchase some spells and gear at the shops that are now open. I quit the game at six hours and 35 minutes in.
Leave a Reply