On day 17 of my Final Fantasy Marathon, I obtained the Forbidden Weapons from Eureka. Today, I’m slogging my way through the rest of the final dungeon.
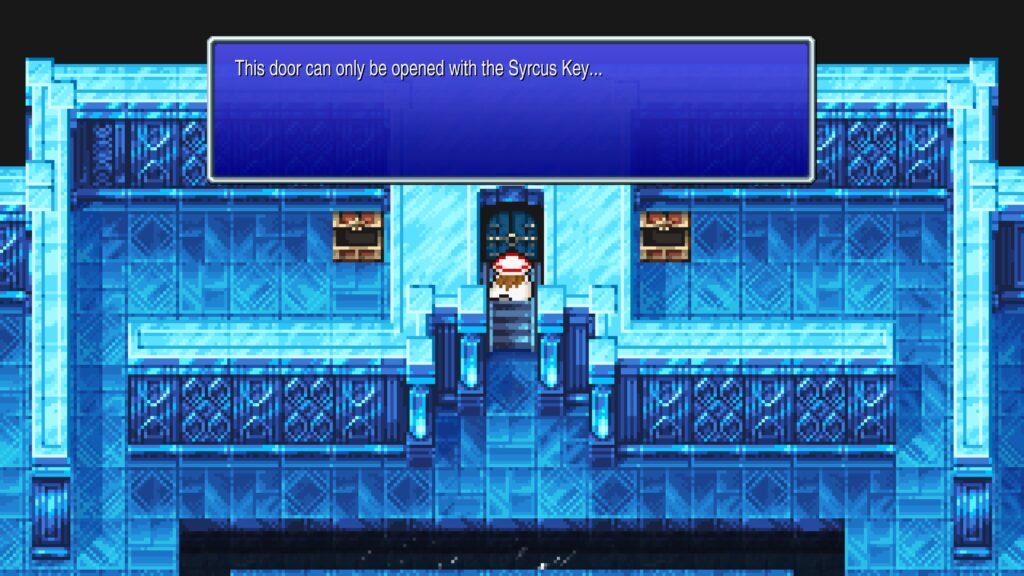
Most of the chests in Syrcus Tower contain elixirs and other items, except toward the end when you can pick up a second Elder Staff and a set of Crystal gear. After collecting the first floor chests, I use the key to get into the tower.
The random encounters here are a definite step up, even from those in Eureka. The good thing about that is it helps you gain levels and job levels on your way to final boss fight.
Onion Equipment
On the upper floors of the tower, different colored dragons begin to appear. These are almost like mini-boss fights. They have a ton of HP and require a fair amount of effort and firepower to take down.
Your reward will be a boatload of experience, and usually an elixir. There is a small percentage chance you will get a piece of Onion Gear.
The drop rate is very low and it’s only usable by Onion Knights. Additionally, the Onion Knight class only becomes powerful as you get very close to job level 99.
Until then, the stats are terrible and there are basically no equipment upgrades from the beginning part of the game through when you get the onion gear. I’ve done the slog one time to get the gear and get my onion knight up to level 99 and once you get there, you have a very powerful fighter.
However, it’s not something I ever want to do again. I honestly don’t know how anyone can stand to grind this long enough to get four sets of onion gear. Getting one was about all the grinding I could take.
Wyrms
At the top of the tower, I enter a room with a mirror and five Wyrms. When I look in the mirror, a mocking voice calls me a fool.
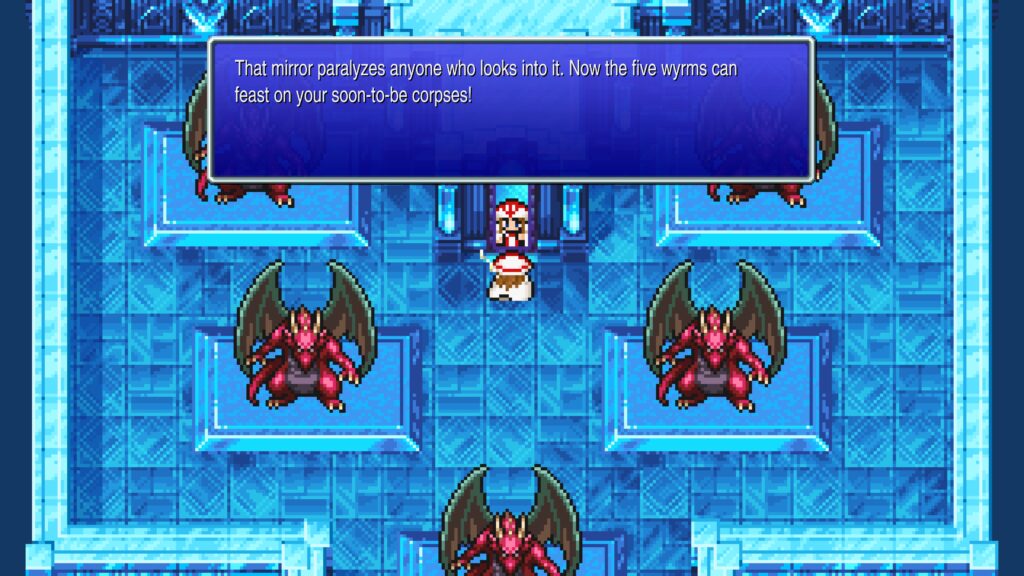
The mirror’s magic paralyzes me, leaving me helpless as the Wyrms come to life. All is not lost though.
The spirit of Doga shows up to save the day. He tells me that to break the curse, we need five hearts of pure light.
He then instructs me to hang on while he collects them. We then get scenes of his spirit traveling around the world to collect Sara, Cid, Desch, Prince Alus, and the Lead Fellow and bring them to the tower.
Our friends tell us they will hold off the wyrms while we stop Xande. The curse breaks and I pass through the mirror.
Xande
Xande is impressed we made it this far, but says it doesn’t matter, because he has already called the darkness. Xande attacks.
He uses powerful magic like meteor and quake to hit the entire party for lots of damage. I fail on my first try.
However, I am able to take him out on the second. My strategy is basically just to hit him with everything I’ve got and use Egwene’s white magic to heal the party when needed.
Xande says it doesn’t matter that we defeated him, because the Cloud of Darkness has already gathered. It plans to return the world to nothingness.
Cloud of Darkness
The Cloud of Darkness attacks. This is an unwinnable fight. We can’t damage the cloud and it does massive damage to us, wiping us in one round.
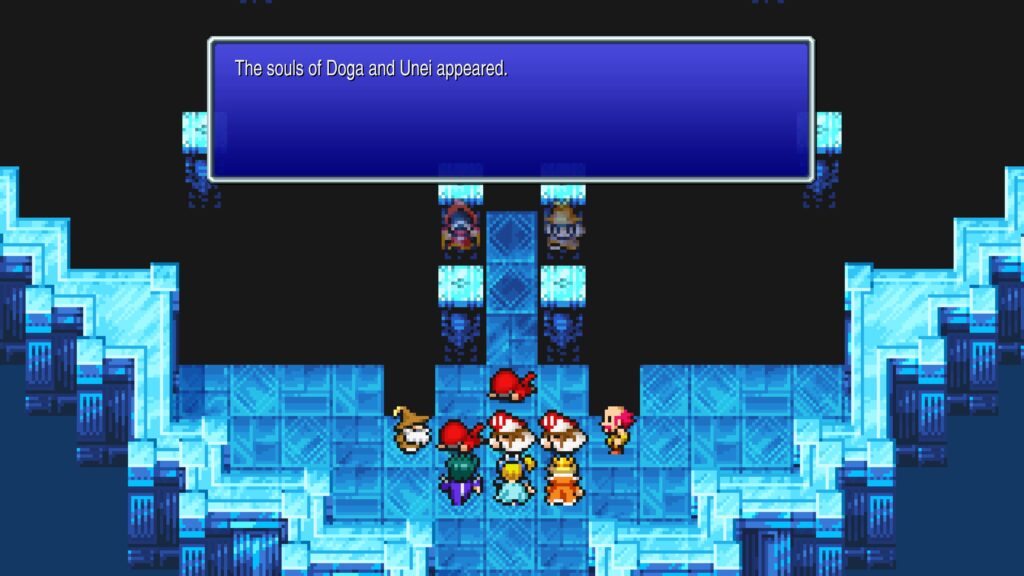
Our friends rush into the room, and then the souls of Doga and Unei appear. Doga and Unei transfer their life force to us.
Doga tells us that soon their souls with disperse and we will be on our own. We are the only ones who can restore the balance between light and dark.
World of Darkness
We enter the World of Darkness. It contains four chests and no items. All the chests are a monster-in-a-box fight against Xande’s Clone.
The prize is a Ribbon. The Clones aren’t easy, but they are not as difficult to beat as the original Xande.
They are also optional. If you don’t care about the ribbons, you can skip them. I already have one ribbon, but I take all the clones down anyway just to get the experience and job points.
Dark Crystals
There are four dark crystals in this dungeon, each guarded by a boss. All of these bosses have a lot of HP and powerful attacks.
Unless you do a lot of grinding, or use some cheese method I don’t know about, these fights are a slog. You can do them in any order.
I take on Echidna first. I don’t use any special strategy here, just wail and heal. I win this one on my first try.
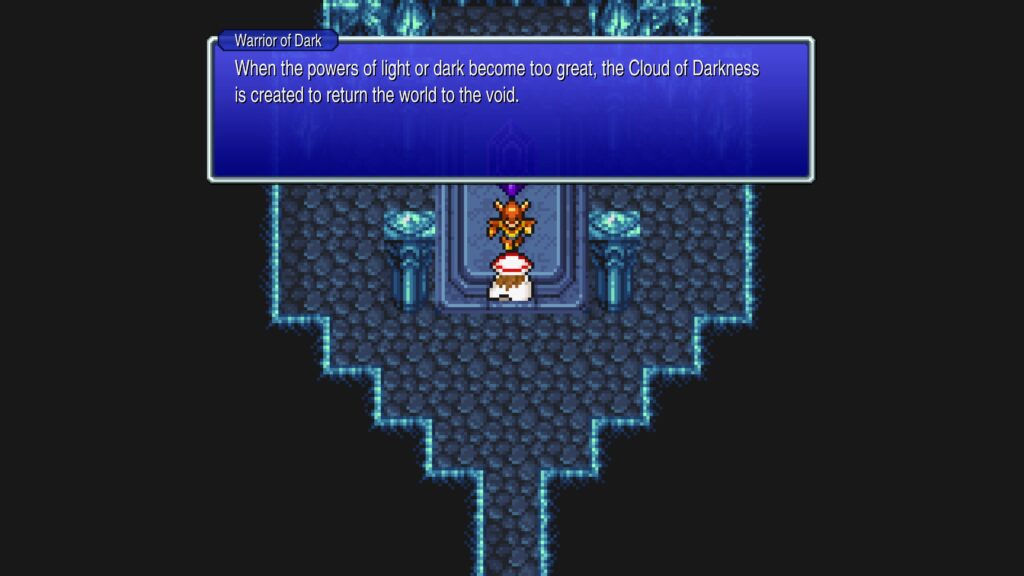
When I approach the crystal, one of the Warriors of Dark pops out. He explains that when the powers of light or dark become too great, the Cloud of Darkness is created to return the world to the void.
Only the hope inherent in the forces of light and dark can stop it. He says he will assist me with his powers of dark.
Interacting with the dark crystal restores my HP, MP, status, and revives anyone who is KO’d. This is handy if you need to grind levels.
Dark Crystals part two
I try Ahriman next, but lose. In addition to his powerful attacks, he can heal himself and I don’t feel like I can do enough damage to outpace him yet, so I decide to try one of the others and come back to him.
I take on Cerberus next. This fight is long, but doesn’t have the on the edge of dying at any moment feel that the others do.
This is because, while Cerberus does have some group attacks, they aren’t as powerful as the others. This makes it easier to keep the party healed up.
I slog through this one and get a win on the first try. The second Dark Warrior tells me that the worlds of Light and Dark depend on each other.
If the two converge, it will bring about a single, void world. With the light weakened, the dark is now spreading.
Dark Crystals part three
I take on the Two-Headed Dragon next. This one doesn’t have any group attacks, but almost all of its attacks are one-hit-kills, at least for the party I have.
At first, I thought I’d cruise through this fight. After all, Egwene can just keep raising the dead.
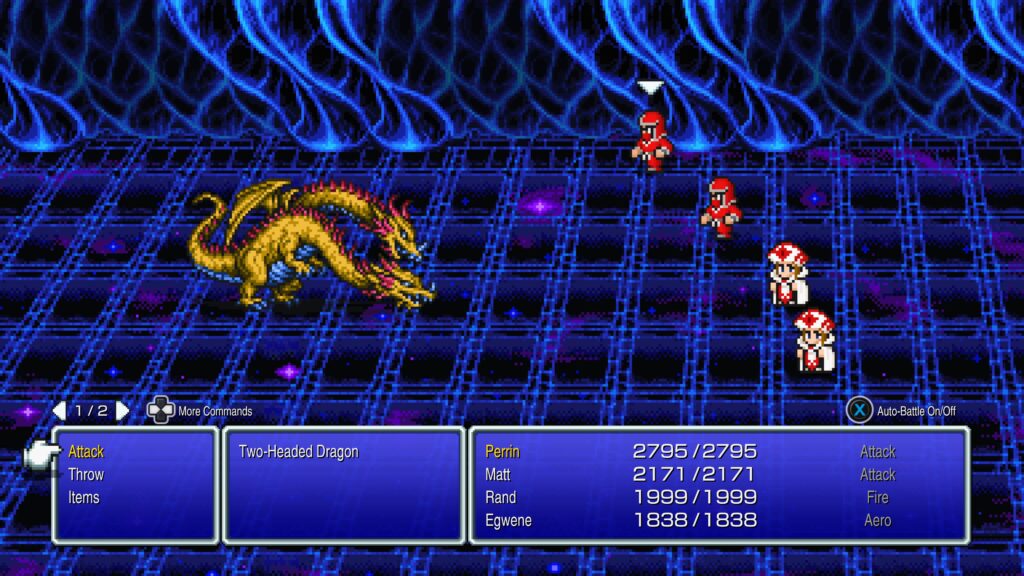
But the deaths can start to pile up, particularly if the dragon targets your healer before they can raise already KO’d party members. After a couple of tries, I decide I’ll go try Arhiman again.
I’m still having some trouble with him, so I go back to the dragon. On my third try, it occurs to me that I shouldn’t waste time healing party members, because even at full health, most of the hits will kill them.
I’m not sure why that didn’t occur to me before. I focus strictly on raising the dead and this time I manage to outlast him.
The third Warrior of Dark says that our worlds came from the void and will one day return to it. However, this is not the day. Only hope can keep the nothingness at bay.
Dark Crystals part four
I return to Arhiman again. I’m still having trouble with him, so I decide to do a bit of grinding. After gaining a couple levels, I finally get the victory.
The final Warrior of Dark says that the dark won’t just affect my world. Both of our worlds will succumb.
However, if we combine our powers we can stop it. I heal up at the crystal and then head for the final showdown.
Cloud of Darkness
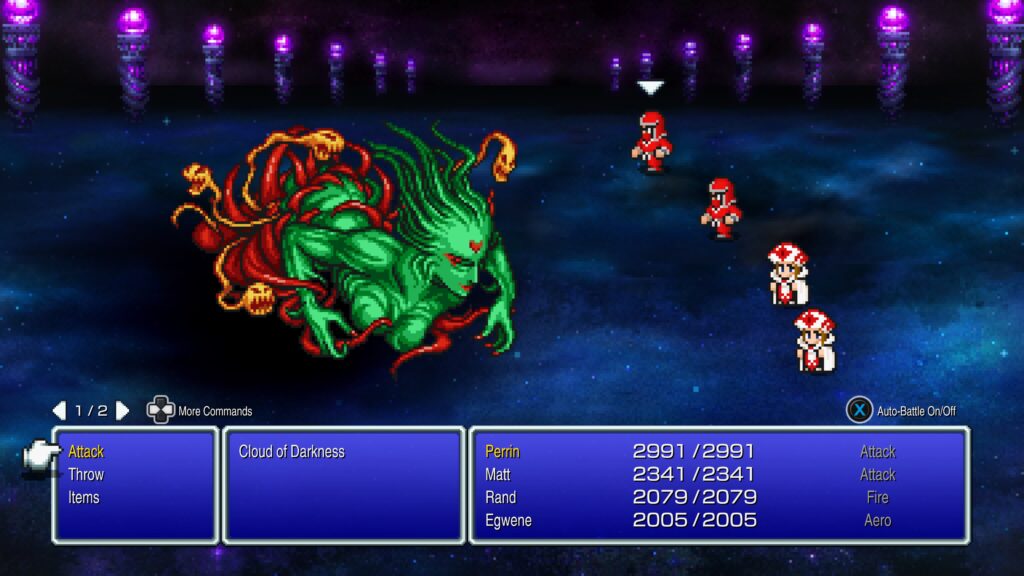
I find the Cloud of Darkness. The four Warriors of Dark jump into the cloud, making it vulnerable.
The Cloud attacks. My basic strategy is to use my ninjas to throw shurikens at it, while Rand casts Bahamut and Egwene heals the party.
The shurikens can do up to 9,999 damage per hit. I have 12 of them.
Things are going pretty well until I get to the part of the battle where the Cloud is doing her rapid-fire Particle Beam attacks. My party can’t heal fast enough to keep up with it.
I’m pretty close to the next level with a few characters, so I decide to go level up before trying again. This time, I cast haste on Egwene, to help her get her healing spells in there faster.
I also have her casting curaja on the whole party every turn, instead of waiting for them to need it. Things still get hairy right as I run out of shurikens.
Egwene goes down, so I have the remaining party members tossing elixirs on themselves, but I have to get to some point where they can attack again, so I toss a phoenix down at Egwene and then start attacking with my ninjas again. Turns out I was very close to the end, because one hit each from them and the Cloud went down.
Had I purchased one more shuriken, I probably could have won without that scramble at the end, but oh well. I guess I’ll keep that in mind for the next playthrough.
Prologue
The cloud disappears, and I get a scroll. In the beginning, there was the void. Then light and darkness came and from it, everything was born.
From that life, hope was born, separating the light from the dark and illuminating the world. When the balance between light and dark is broken, the chosen will appear once more.
Don’t forget that the source of the warriors’ power is the hope inside us all. When the scroll ends, we get a cutscene.
We reunite with our friends and then fly them back to their homes. Except for Desch and Sara.
Desch wants to stay with his girlfriend Selene in Caanan and Sara wants to go back to Ur with Rand. We return to Ur and Topapa and the villagers greet us.
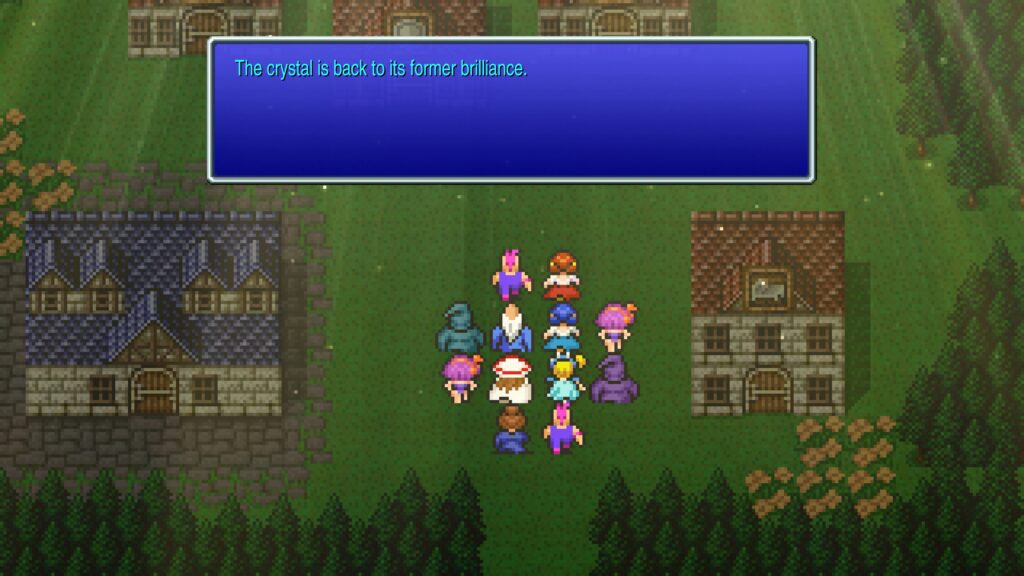
We see light as the crystal returns to its former brilliance. The credits roll.
Last game, I accidentally discovered you can skip those long-ass credits, so I do that. My completion time is 15 hours and 58 minutes.
Playthrough two
I plan to play through one more time, so I can play the jobs I didn’t do this time around. For the Wind Crystal, that will be the White Mage job.
There are only four Fire Crystal jobs, and I did all those the first time, so I’ll play whichever jobs I feel like through that section. For the Wind Crystal, I will play the Dragoon, Black Belt, Dark Knight, and Bard.
At that point, I used all the remaining classes the first time around, so I can either just stop there and call it a day or choose whichever classes I feel like using. I’ll probably do the second thing.
Leave a Reply